- When dumping both tanks, empty the black tank first, then the gray tank, so gray water rinses waste out of the hose.
- Put on gloves and connect the sewer hose securely before you touch either valve.
- Open the black valve fully and let it drain until the flow trickles down to nothing.
- Rinse the hose and wash your hands after every dump, even a quick one.
- A fuller black tank generally drains and flushes better than a nearly empty one.
Your first time at a dump station can feel intimidating. There’s a hose to connect, valves to pull in the right order, and maybe a line of RVers waiting behind you. Learning how to dump RV tanks correctly is one of the most useful skills a new RV owner can pick up, and once you’ve done it a few times, it becomes a quick, routine part of breaking camp.
This guide covers the full dumping sequence: what to bring, when to dump, the exact valve order, how a dump station visit differs from a full hookup stay, and what to do afterward. If your sewer hose isn’t connected yet, this picks up right after that part is done.
What Do You Need to Dump RV Tanks?
Most beginners can dump their tanks with just a few items, some of which likely came with the RV.
RV sewer hose. This connects your RV’s waste outlet to the dump station or sewer inlet. If you’re shopping for one, our comparison of current RV sewer hose kits covers wall thickness, fitting type, and storage size.
Disposable gloves. Wastewater carries bacteria, so keep a box in your RV and never handle a valve or hose bare-handed.
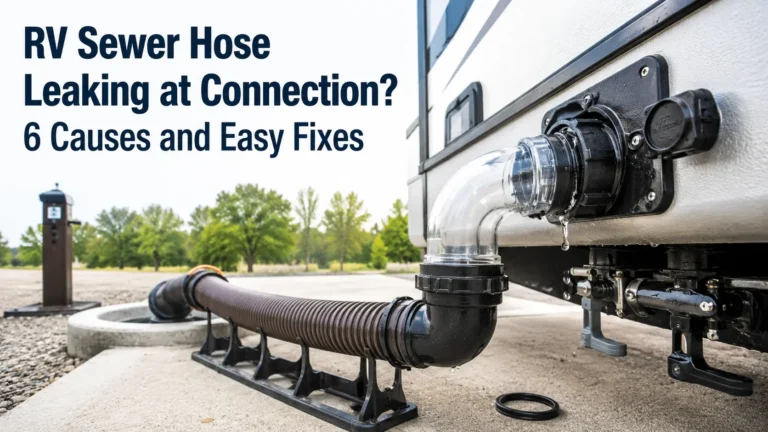
Clear elbow fitting. This lets you see waste flow through the hose so you know when a tank is actually empty, instead of guessing.
Hose support. Not required, but it holds the hose off the ground on a steady downhill slope, which cuts down on pooling and odor.
Non-potable rinse hose. Keep a separate, clearly labeled hose for the black tank flush inlet and for rinsing sewer equipment where the dump station allows it. Never use your drinking-water hose for either job, and follow the station’s rules for its rinse-water supply.
Cassette toilets, common in smaller campers and truck campers, skip this hose-and-valve system entirely. You remove a portable cassette from an outside hatch and carry it to a dump point yourself. If your RV has one, the steps below won’t apply the same way, so check your owner’s manual for cassette-specific instructions.
When Should You Empty Your RV Tanks?
There’s no fixed schedule. Dump when your tank monitor shows it’s getting full, when you’re leaving a site, or before a long drive. Many experienced owners also wait until the black tank is fairly full before dumping, since a larger volume of water and waste moving together tends to clear the tank more completely.
How often you dump depends on tank size, how many people are using the RV, and how long you’re staying put. A couple in a large motorhome might go a week between dumps, while a family in a smaller trailer could fill a tank in two or three days.
Some RV education sites suggest waiting until the black tank is roughly two-thirds full, but that isn’t a universal rule. Keystone RV’s holding tank guidance tells owners to keep termination valves closed until the tank level warrants dumping without specifying a fraction. Follow your own RV’s manual; a tank with enough liquid generally drains solids more effectively.
Don’t let a mostly empty black tank sit for weeks between dumps, either. Waste that dries out inside the tank is harder to clear later. If you’re storing the RV or heading home for a while, dump and rinse the tank first.
How to Dump RV Tanks Step by Step
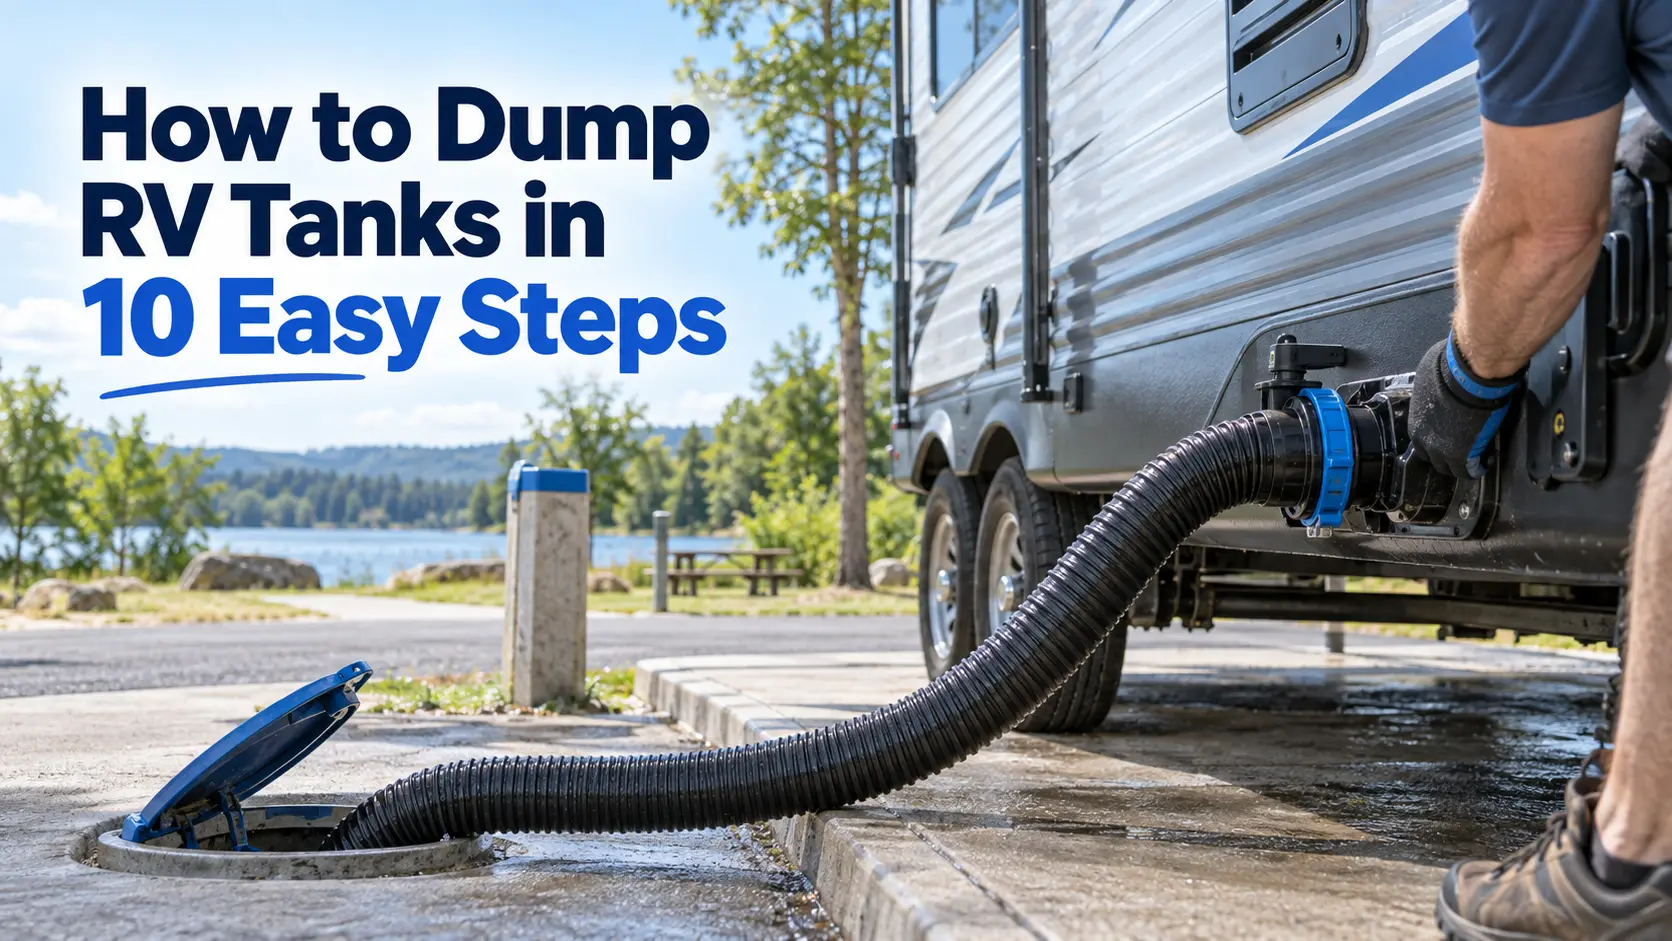
When emptying both tanks, open the black valve and let the tank drain. If your RV has a built-in flush, use it with the black valve open, then turn off the water and finish draining before closing that valve. Drain the gray tank next. Close both valves, disconnect the RV end of the hose, rinse toward the sewer inlet, then disconnect and store it.
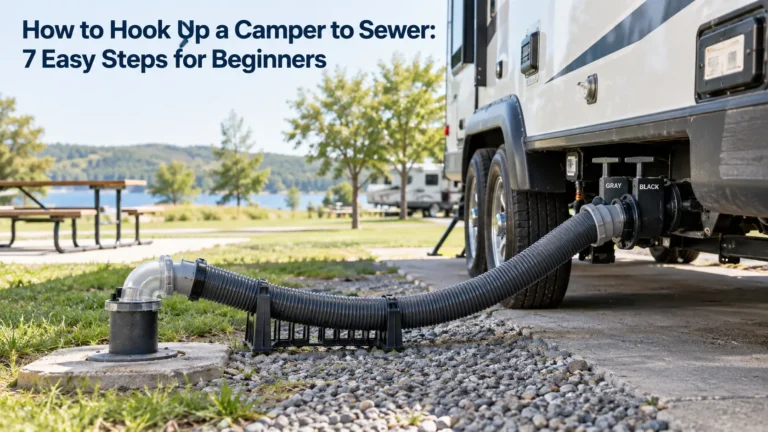
If your hose isn’t already connected to a sewer inlet, our guide to hooking up a camper to sewer walks through parking distance, hose slope, and fitting checks. Before you open any valve, confirm what’s already connected: both hose ends are locked in place, the sewer or dump station end is seated so it won’t pop loose under pressure, and both tank valves are still closed. Once that’s confirmed, the dump itself follows this order:
- Put on gloves. Wastewater splashes more than you’d expect, especially through an older hose or a worn gasket.
- Open the black tank valve fully. Pull the handle all the way out rather than partway. A partially open valve lets liquid rush past solids instead of carrying them along.
- Let it drain. Watch the clear elbow if you have one, and wait until the sound and flow slow to a stop. A fuller tank takes longer to empty than a nearly empty one.
- Use the black tank flush if equipped, with the black valve still open. Follow your RV manufacturer’s instructions and use a separate rinse hose, never your drinking-water hose. A built-in flush system sprays water inside the tank. Tiffin’s owner manual explicitly says to keep the gate valve open while flushing and not to use the fresh-water filling hose. Never leave the flush running unattended.
- Shut off the flush water, let the tank finish draining, then close the black valve firmly. If you don’t have a built-in flush, you can skip this optional rinse. If you add water through the toilet to rinse the tank, keep the sewer hose connected, reopen the black valve to drain that water, and close it again afterward.
- Open the gray tank valve. The soapy water that follows helps wash any black tank residue out of the hose.
- Close the gray tank valve once it stops draining.
- Confirm both tank valves are closed, then disconnect the RV end of the sewer hose carefully. Keep its other end secured in the dump station or sewer inlet. Replace the cap on the RV’s waste outlet.
- Rinse through the open RV end of the hose, if rinse water is available and station rules allow it. Use your dedicated non-potable rinse hose or a compatible sewer-hose rinse cap. Keep the discharge end in the sewer inlet, avoid splashing, and never use your drinking-water hose.
- Turn off the rinse water and let the hose drain completely toward the sewer inlet. Gently lift the RV end as needed. Then disconnect the sewer end, close the station inlet if required, cap the hose ends if your kit has caps, and store the hose separately from fresh-water equipment
If your RV has two gray tanks, such as separate kitchen and bathroom tanks, drain each one according to your owner’s manual. If you can identify which contains cleaner water, draining that tank last can help with the final hose rinse
How to Dump RV Tanks at a Dump Station
A dump station works the same way as a full hookup, but you’re usually connecting, dumping, and leaving in one visit rather than staying hooked up for days. Line up your RV so the outlet reaches the inlet without stretching the hose, and move with purpose out of courtesy to anyone waiting, without skipping a hygiene step to save time.
There’s often a line of other RVers waiting their turn at a dump station, which Winnebago’s own dump station guide treats as routine enough to plan for, not something to feel rushed by.
Pull up so your waste outlet lines up with the station’s inlet, close enough that the hose has slack for a downhill slope without dragging on the ground. Some stations provide a separate rinse-water supply for waste equipment; check signs and local rules before using it. Never use your drinking-water hose for rinsing waste equipment, and never dump anything into a fresh water connection.
If someone is waiting, it’s reasonable to skip an optional step, like a full black tank flush, and finish it later at your next stop. It isn’t reasonable to skip gloves, close a valve before the flow has actually stopped, or leave a puddle for the next person. Wipe down any shared valve handles or levers before you leave, since the next RVer will touch the same equipment right after you, and take your used gloves with you to throw away rather than leaving them at the station.
If you’re boondocking with no sewer connection nearby, a portable RV waste tank lets you haul wastewater to the nearest dump station without moving your whole rig.
Before you pull away, do a quick walk-around. Confirm both valves are closed, both caps are back on, and the area around the drain looks the way you found it.
What Should You Do After Dumping RV Tanks?
After closing both tank valves, rinse the sewer hose through its RV end while its other end remains in the sewer inlet, if the station permits rinsing. Drain, disconnect, and store the hose away from fresh-water gear. Remove your gloves carefully and wash your hands with soap and running water.
A rinse of the hose and its fittings with your non-potable hose keeps residue from drying inside, which is one of the more common causes of lingering odor. Store the hose in its own compartment or a dedicated tube, separate from fresh water equipment, even once it’s rinsed clean.
Remove gloves carefully, then wash your hands with soap and water as soon as you can. Gloves limit contact with wastewater, but they don’t replace handwashing. If soap and water are unavailable, use sanitizer containing at least 60% alcohol until you can wash properly. Sanitizer is less effective on visibly dirty hands.
Some water and a tank treatment added to the black tank before you drive off helps prevent odor and keeps the tank from sitting completely dry until your next fill.
Common RV Tank Dumping Mistakes to Avoid
-
Opening the gray tank first when emptying both tanks.
This leaves less gray water to rinse the hose after black tank waste goes through it. Dump black first, then gray, when you’re draining both in one session.
-
Leaving the black tank valve open at a hookup.
Liquid drains away while solids stay behind and dry out, which eventually forms a hardened clog. Keep the valve closed until you’re ready to dump.
-
Skipping gloves, or treating them as a substitute for handwashing.
Wear gloves during the dump to limit direct contact, then wash your hands with soap and water afterward anyway. Gloves and handwashing do different jobs, not the same one.
-
Not checking the hose before connecting it.
A cracked fitting or a flattened gasket can leak partway through a dump. Run your hands along the hose before every trip.
-
Dumping a nearly empty black tank.
A small amount of liquid doesn’t carry solids out well. Add water through the toilet first if the tank is low.
-
Forgetting to close a valve before disconnecting.
This is how spills happen. Confirm both valves are closed before you touch the hose fittings.
-
Using your sewer hose for anything else.
Never use it, or its fittings, for fresh water tasks. Keep it stored and labeled separately from the rest of your gear.
What If Your RV Tanks Won’t Empty?
A tank that won’t drain is usually a clog, a stuck valve, or too little water in the tank to carry solids out. Don’t force a stuck valve or reach for a strong chemical as a first response.
A few issues account for most tanks that won’t empty properly: a clog near the valve outlet, a hardened waste buildup, a blocked vent that stops air from replacing the water as it drains, or a valve that isn’t opening all the way.
Our guide to why an RV black tank won’t drain walks through all seven common causes and how to check each one safely. If you suspect a hardened buildup at the bottom of the tank, our guide to fixing a pyramid plug covers how to clear it without damaging the tank.
Conclusion
Dumping your RV tanks isn’t complicated once you’ve done it a few times. Connect the hose, dump black before gray, rinse everything on the way out, and wash your hands when you’re done. The order and the cleanup matter more than the speed, so don’t skip a step just because someone’s waiting behind you.
Next time you’re at the dump station, run through these steps once with this guide open. By your second or third trip, it’ll feel routine.
Frequently Asked Questions
Which RV tank do you dump first?
When you’re dumping both tanks in the same session, always dump the black tank first, then the gray tank. The soapy gray water that follows flushes black tank residue out of the sewer hose before you disconnect it. Dump gray first instead, and there’s no gray water left afterward to rinse the hose once black tank waste has gone through it.
How full should my tanks be before I dump them?
Follow your RV manufacturer’s tank-level guidance. Some guides suggest waiting until the black tank is roughly two-thirds full, but there is no universal level for every RV. If you need to dump a low tank, add water through the toilet as directed by your owner’s manual so there is enough liquid to carry waste out.
How often should you dump RV tanks?
It depends on tank size, how many people are using the RV, and how long you’re staying put. Watch your tank monitor and dump when it’s getting full or before you leave a site, rather than following a fixed schedule.
Do I need a macerator pump to dump my tanks?
No, most RVers use a standard gravity sewer hose and never need one. A macerator earns its cost when your sewer connection sits uphill or farther away than a standard hose can reach. Our macerator pump versus sewer hose comparison breaks down when the extra cost is worth it.
Can I dump only my gray tank without dumping the black tank?
Yes, you can open either valve on its own. Just keep in mind that dumping gray water by itself means you’ll lose its usual job of rinsing the hose the next time you dump the black tank.