A leaking or cracked black tank leaves you with two questions: does it actually need to come out, and if so, what’s the RV black tank replacement cost going to be? Search around and you’ll find pages quoting “$150 to $600” or “a few hundred to $1,000+” with no explanation of where those numbers come from or what they include. That’s not useful when you’re trying to budget a real repair.
This guide breaks the cost down the way it actually works: tank price, parts and fittings, labor, and total installed cost, each kept separate and each labeled by source. It also covers the one distinction most competing pages skip, that a cracked tank doesn’t always mean a new tank, whether it’s ABS or polyethylene.
RV Black Tank Replacement Cost: A Breakdown by Category
For the specific 30-gallon models checked this session, tank prices run $329.95 to $409.95 at RecPro and Alpha (blank tanks, no fittings included) and roughly $300 to $500 at Icon depending on which configuration you order, since Icon’s tanks come with a spigot and sensors already installed rather than sold blank.
These aren’t universal figures for “a 30-gallon tank,” they’re what these specific models cost, checked this session; other brands, sizes, and configurations will land at different prices. Add labor, and total cost depends almost entirely on access.
Two individually sourced, dated examples: a full DIY replacement (tank, plumbing parts, and a toilet repair) came to $550 in 2013, and a dealer job covered under an extended warranty was billed at $914, with the owner paying a $50 deductible. These are two individual cases, not an average, and they sit years apart, so treat them as data points rather than a current range.
Repair or Replace? Why Tank Material Decides Your Options
Before you price a new tank, check whether you actually need one. A crack, small hole, or slow seep doesn’t automatically mean replacement, and the material your tank is made from determines what’s realistic.
ABS tanks bond with solvent-based repair products, because the solvents in those kits melt and re-fuse the ABS plastic. Whether a specific patch holds up long-term depends on the size and location of the damage, how well the surface was prepped, and how the repair is used afterward, small, well-prepped cracks in low-stress areas have a much better track record than large cracks or damage near a mounting point or fitting. If your tank is dropping in and out of a black tank sensor reading full before you’ve even confirmed a physical crack, it’s also worth ruling out a fouled sensor or a pyramid plug first. Both can mimic tank failure without the tank actually being at fault.
Polyethylene (LDPE) tanks don’t bond the same way with solvent-based kits. That’s why many guides recommend replacement. However, replacement isn’t always necessary.
Some polyethylene damage, particularly a clean crack rather than a shattered section, can be repaired through professional plastic welding. This process is also used on polyethylene fuel tanks and kayaks. Whether a crack is suitable for repair depends on the damage and must be assessed by the welding professional.
Plastic welding is more specialized than using ABS repair kits. Look for a shop or mobile technician who specifically offers plastic welding rather than general RV repair.
One more wrinkle: don’t assume tank color tells you the material. Black tanks are sold in both ABS and polyethylene, RecPro’s own black 30-gallon tank in the table below is polyethylene, not ABS, despite being black. The only reliable way to confirm material is your tank’s model number or manufacturer documentation, not its color or how it feels.
Replacement becomes the practical call mainly when the tank has significant structural damage, has dropped from its mounts, or when a repair estimate starts approaching what a new tank costs anyway. If you’re already facing a full tank-out repair and boondock often, it’s also worth knowing some owners skip the black tank question entirely by installing a composting toilet instead, though that’s a bigger decision than a repair-vs-replace call.
What a New Tank Costs, and What Else You’ll Pay For
Here’s what specific 30-gallon models cost at three current retailers, checked this session. These are prices for these models, not a general market range, since brand, configuration, and drain style all move the number:
| Retailer | Model | Dimensions | Material | Price | Notes |
|---|---|---|---|---|---|
| RecPro ↗ | RP-22548H | 54″ × 22″ × 8″ | Polyethylene, blow-molded, 1/4″ walls | $329.95 | Blank tank; fittings kit sold separately. |
| Alpha (via RecPro) ↗ | VR23528HR | 52″ × 23″ × 8″ | Polyethylene | $399.95 | Blank tank; 3″ outlet, fittings sold separately. |
| ICON ↗ | HT140-SD | 60″ × 24″ × 8″ | ABS plastic | $299.99–$499.99 | Price varies by configuration. ICON’s standard build ships with a 3″ spigot and 4 level sensors already installed. |
Price note: Prices are retailer-listed examples supplied for this comparison, not a universal market range. Prices, availability, shipping costs, and configurations may change. Check the retailer’s website for current pricing.
Note the material difference: RecPro and Alpha’s tanks here are polyethylene, while Icon’s are ABS, confirmed directly on Icon’s own site. Don’t assume brand or even color tells you the material; check the specific model’s listed material before assuming a repair method will work.
RecPro and Alpha’s tanks are sold blank, so budget for a fittings kit (grommets, barbed couplers, sensor inserts) as a separate line item, typically an additional $20 to $50. Icon’s price already reflects a tank with fittings and sensors installed, which is part of why its range runs higher at the low end and wider overall, comparing a blank tank’s price to a fitted tank’s price isn’t apples to apples.
I couldn’t confirm a specific claim of a 30-gallon black/waste tank at $105.99 from Class A Customs. Their published 30-gallon tanks are marketed as fresh/gray water tanks (NSF food-grade), priced around $165, not black-water tanks at that price. If you have the exact listing, send it and I’ll verify and add it; otherwise I’d leave this brand out of a black-tank cost table rather than cite an unconfirmed figure for what may be a different product category.
Beyond the tank itself, a full replacement usually needs some combination of: rubber no-hub couplers or spin-weld fittings to join the new tank to existing plumbing, mounting straps or brackets if the old ones are damaged, a new gate valve if yours is original and worn, and tank sensor probes if your monitor system uses them. One detailed 2013 owner account on the Good Sam community forum itemized a full DIY job this way: tank $330, plumbing/ABS/PVC fittings $150, toilet repair and sensor probes $70, for a $550 total. That breakdown is 13 years old and shouldn’t be read as current pricing, but it’s a useful illustration of how the categories stack.
If you’re sourcing a tank outside the big retailers, one owner account in a Montana Owners Club forum thread describes ordering a tank from RVandVanSurplus for $199 plus $110 shipping, cheaper than the Icon and Trekwood quotes the same owner was comparing at the time. That same account also reported a three-week-plus delay getting the tank shipped, worth keeping in mind if you’re planning around a repair timeline. The post isn’t dated in a way I could confirm, so treat it as a real but unverified-current data point.
Why Labor Is the Real Cost Driver
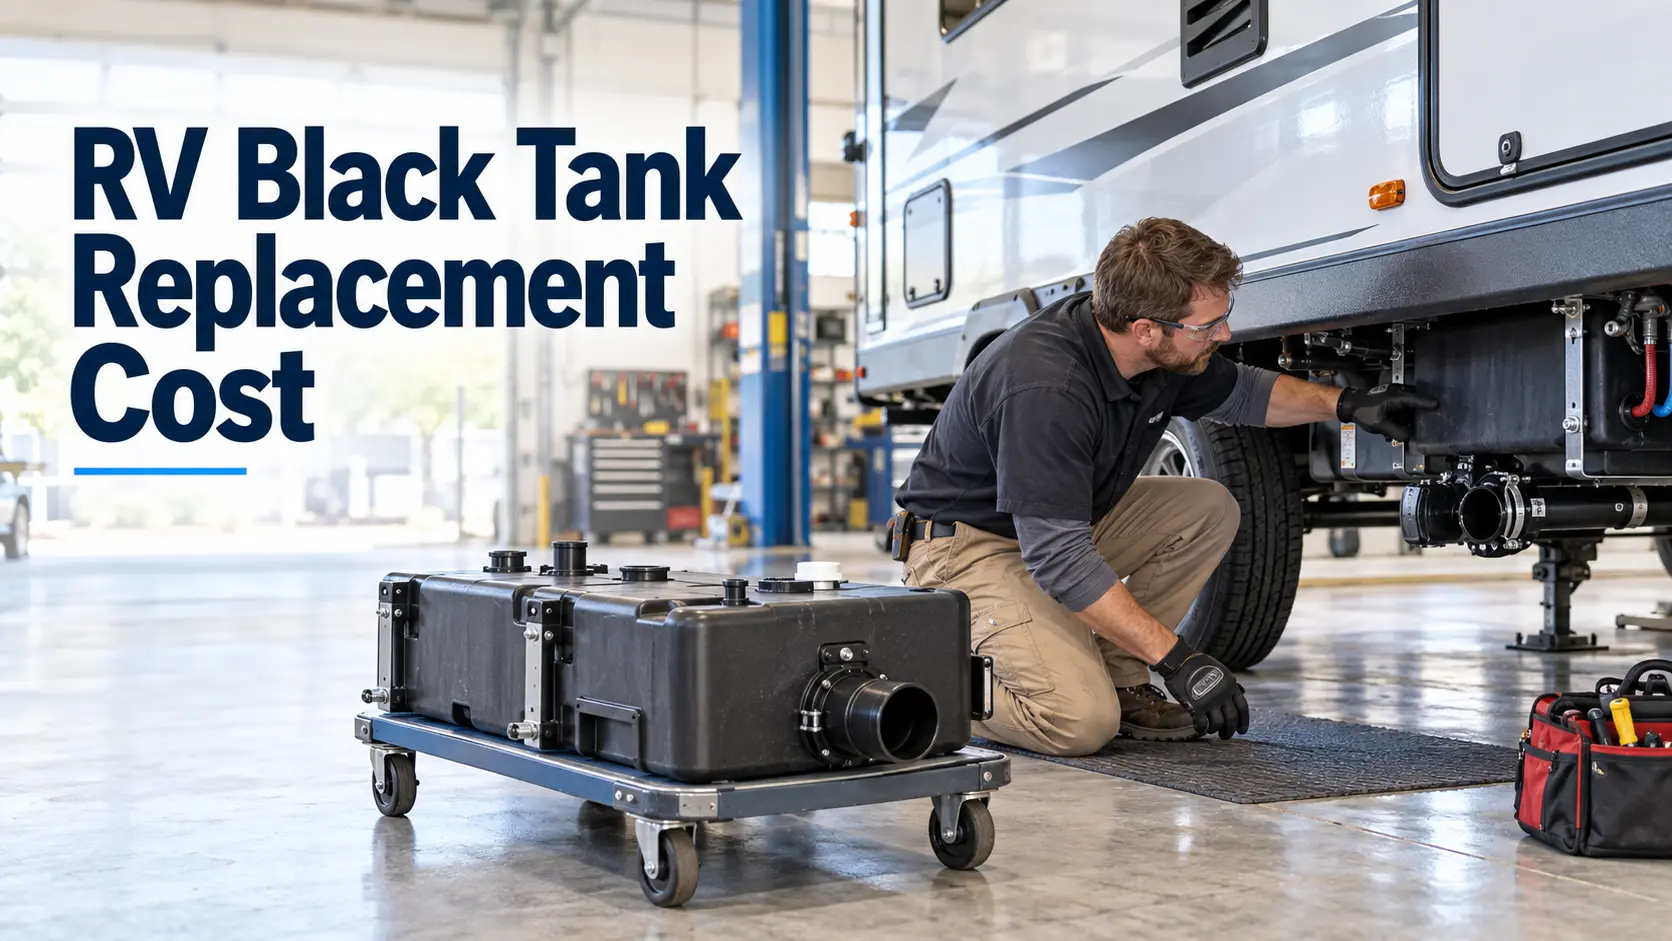
The tank itself is the easy part to price. Labor is where the range actually opens up, because it depends entirely on how buried the tank is. A tank mounted close to the underbelly access point, with straight plumbing runs and no furniture or flooring in the way, is a manageable job. A tank tucked behind cabinetry, structural framing, or a slide mechanism can turn into a much longer job, since a tech may need to cut into flooring or partially disassemble furniture to reach it.
This is also where sourcing matters. A stuck or hard-pulling black tank valve is sometimes mistaken for a tank problem when only the valve needs replacing, a much smaller job than a full tank swap. Confirming the tank itself is actually the failure point, not the valve, the vent, or a clog, is worth doing before you price out labor for a job you might not need. Our guide to a clogged black tank vent covers one of the more common false alarms.
DIY vs. Professional: Individual Cost Examples
These are two separate, individually sourced cases, not a market average. Treat each as one data point for its specific circumstances.
| Case | Type | What’s Included | Total | Source |
|---|---|---|---|---|
| DIY replacement, 2013 | Owner-reported, itemized | Tank ($330) + plumbing/fittings ($150) + toilet repair parts ($70), no paid labor | $550 | Good Sam community forum |
| Dealer replacement, warranty case, date unconfirmed | Reported invoice | Full tank replacement, parts and labor, billed to extended warranty provider | $914 billed, $50 owner-paid | Montana Owners Club forum |
I wasn’t able to independently verify a current, clearly sourced quote for an out-of-warranty professional shop replacement this session, including a specific figure attributed to OCRV Center: I checked their site directly and found general RV body/collision/remodel service pages, but no published pricing for black tank replacement specifically.
If that figure comes from a specific blog post or page, send the link and I’ll verify and add it. A separate, verified, current (2025) Forest River Forums thread shows a $1,300 quote plus a $250 diagnostic fee, but that’s for a different repair (a drain pipe that separated from the tank after a pump-out service), not a full tank swap, so it’s excluded here rather than presented as comparable.
Until a current, properly scoped professional quote is confirmed, the honest statement is that unwarrantied shop labor for a full replacement should be expected to run into four figures once a technician has to access a poorly placed tank, based on the labor-difficulty pattern above, rather than a specific number.
How to Evaluate a Replacement Quote
Rather than judging a quote against a single “this is too high” cutoff, ask the shop to separate the number into tank cost, fittings and parts, and labor hours. Compare the tank and parts portion against current retail prices for your tank’s dimensions. For labor, ask what’s making the job long or short: is the tank easily accessible, or does reaching it require cutting into flooring, removing furniture, or working around a slide mechanism? A quote that can’t be broken down this way, or where the shop can’t explain what makes access difficult, is harder to evaluate on its merits than one that can.
Compatibility and Hidden Costs to Check Before You Buy
A tank that’s the right capacity isn’t automatically the right tank. Before ordering, confirm:
6 Things to Check Before Buying
-
Overall dimensions and depth
Including any tapered section, against your available mounting space.
-
Outlet and vent port location and size
One owner account in a Montana Owners forum thread describes ordering a tank based on rough dimensions from two suppliers before finding a third with a full technical drawing showing spigot placement, after the first two didn’t line up with their existing plumbing.
-
Sensor compatibility
If your RV uses a factory monitor panel rather than an aftermarket exterior sensor system.
-
Fittings kit cost
Which is separate from the tank price at every retailer checked above.
-
Old tank disposal
Which some shops charge for separately.
-
Shipping time
Since aftermarket and surplus suppliers can run considerably longer than a big retailer’s stated timeline.
Safety Basics Before You Start
A black tank holds raw sewage even when it looks empty, and a replacement job means opening it up completely, so treat this as sewage handling, not just plumbing work.
Important: Wear waterproof gloves and eye or face protection any time you’re disconnecting the tank, cutting into the underbelly, or working near the outlet, consistent with CDC guidance on protecting workers who handle human waste. Don’t eat, drink, or touch your face while working, and wash thoroughly with soap and water afterward.
- Empty and clean the tank as fully as possible first. Dump normally, then run a flush cycle or wand through it. You won’t get it perfectly clean before removal, but every gallon you clear out is less spill risk once it’s disconnected.
- Support the RV properly, not just on a jack. If you need to get underneath for an extended period, use rated jack stands or ramps rated for the weight, never rely on a jack alone to hold the RV up while you’re under it.
- Disconnect power to the tank sensor wiring before cutting or disconnecting anything near the sensor probes. It’s low-voltage, not a shock hazard on the level of household wiring, but a loose wire can short against metal fittings while you’re working.
- Have a containment plan for whatever’s left in the tank when you disconnect it, a tarp, a bucket, or plastic sheeting under the work area, since some spillage during removal is close to unavoidable.
- Ventilate the area if you’re using ABS solvent cement for a repair rather than a full replacement; the fumes are strong and meant for outdoor or well-ventilated use.
When to Call an RV Technician
Some of this job is reasonably DIY-friendly. Some of it isn’t. Consider a professional if:
- The tank is mounted somewhere that requires cutting flooring, removing built-in furniture, or working around a slide-out mechanism to reach
- You’re not confident identifying whether your tank is ABS or polyethylene before committing to a repair method
- The crack or damage is near a structural mounting point rather than an open section of tank
- You’ve confirmed the tank needs replacement but aren’t comfortable working underneath the RV for an extended period
- A repair attempt has already failed and the tank continues to leak
Conclusion
For the models checked here, a replacement tank alone runs roughly $300 to $500 depending on brand and configuration, but that number alone won’t tell you what the job costs, since fittings, labor, and access difficulty all sit on top of it. Before you price a full replacement, confirm the tank material and whether a repair, patching ABS or welding polyethylene, is realistic for your damage. When you do get a quote, ask for it broken into tank, parts, and labor so you can actually evaluate it against real numbers instead of a single unexplained total.
Frequently Asked Questions
How long does it take to replace an RV black tank?
For a professional with good access to the tank, one owner account describes a two-person job taking about half a day. A solo DIY replacement typically takes longer, often a full day once you account for draining, disconnecting plumbing, removing the old tank, and testing the new one for leaks before closing everything back up.
Can I replace an RV black tank myself?
Yes, for owners comfortable with basic plumbing and working in a confined underbelly space. The job generally involves draining and disconnecting the old tank, removing mounting straps or brackets, installing the new tank with matching fittings, and testing for leaks before closing up the underbelly. It gets significantly harder if the tank isn’t easily accessible.
How do I know if my tank is ABS or polyethylene?
Don’t rely on color or surface texture. Both materials are sold in black, and both can look similar depending on the manufacturer, RecPro’s own black 30-gallon polyethylene tank is a good example of why color isn’t a reliable clue. Confirm material through your RV’s manufacturer documentation, the tank’s model or part number, or by contacting the tank manufacturer directly. If you genuinely can’t identify it, a small test patch of ABS solvent cement in an inconspicuous spot, checked for a proper bond, is more reliable than guessing by appearance, though a shop can confirm it faster than trial and error.
Can polyethylene tank damage actually be repaired, or does it always need replacing?
Sometimes. Polyethylene doesn’t bond with the solvent-based kits used on ABS, but professional plastic welding, the same process used on polyethylene fuel tanks and other rigid poly containers, can repair some damage. Whether a specific crack or hole is a good candidate depends on its size, location, and how the tank has been stressed since, that’s a judgment call for whoever does the welding, not something to count on before getting it inspected. It’s a smaller, more specialized repair market than ABS patching, so plan on finding a shop or mobile tech who specifically offers plastic welding.
What should I check before ordering a replacement tank to avoid a bad fit?
Confirm exact dimensions including any tapered sections, outlet and vent port size and placement against your existing plumbing, sensor compatibility if you use a factory monitor panel, and whether a fittings kit is included or needs to be ordered separately. Getting a technical drawing from the supplier before ordering, rather than relying on dimensions alone, can prevent a mismatch.