TL;DR
- To sanitize an RV fresh water tank, first check your RV manual for the specified bleach strength, dilution, plumbing-valve settings, and standing time.
- A common manufacturer recipe for 5% plain unscented bleach is 1/4 cup per 15 gallons of tank capacity, diluted with water before the tank is filled. Do not use that amount unchanged with a stronger bleach product.
- Run the solution through the plumbing allowed by your RV and heater manuals; let it stand for the specified time, then drain, refill, and flush with potable water before drinking.
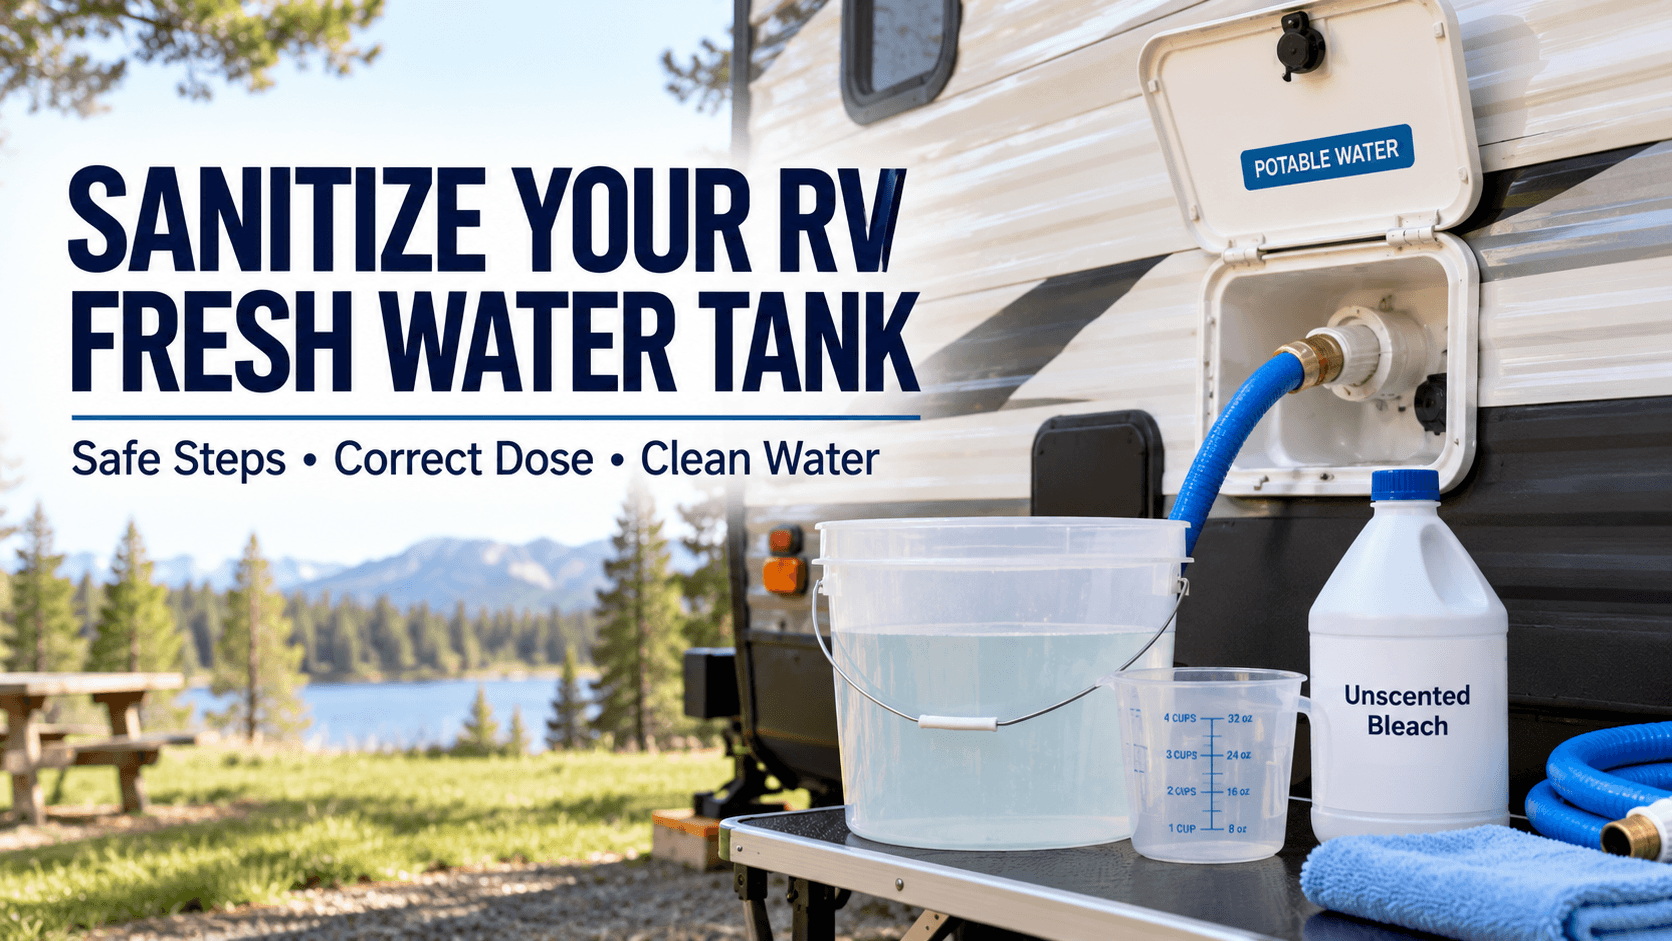
Knowing how to sanitize RV fresh water tank helps protect the drinking-water system after storage, when buying a used RV, or whenever the manufacturer calls for maintenance. The basic process is to circulate a correctly diluted disinfecting solution through the fresh-water system, allow enough contact time, and flush it all out. Do not use this procedure for gray or black tanks.
Start with the eight steps below. Then use the bleach chart and manufacturer comparisons to check the details for your RV. The exact procedure matters more than following a generic recipe from another brand.
How to Sanitize RV Fresh Water Tank: 8 Steps
- Read your RV, filter, and water-heater instructionsConfirm the tank capacity, fill method, bleach concentration, required standing time, and water-heater bypass settings. Different RVs have different plumbing controls.
- Prepare the systemUse a potable-water hose, gloves, eye protection, a clean jug, and plain unscented bleach approved by your manual. Bypass or remove filter cartridges if the filter or RV maker says to; turn the water heater off.
- Drain old fresh waterEmpty the fresh water tank and lines as your RV manual directs, then close the drains. Keep the pump off while the tank is empty; never let it run dry.
- Dilute and add the correct bleach amountOnly use the measured amount for your manual’s specified bleach concentration and tank size. Premix with water as directed. Never pour concentrated bleach straight into a tank.
- Fill with potable water and circulateFinish filling the tank, set the valves for tank use, turn on the pump, and run each permitted hot and cold outlet until the solution reaches it. Follow model-specific heater bypass instructions.
- Let it stand for your model’s contact timeFollow your own manual—not a universal four-hour rule. Published manufacturer instructions range from three hours to 24 hours for different procedures.
- Drain and refill with fresh drinking waterDispose of treated water only where allowed by campground and local rules. Drain via the correct plumbing controls, then refill with potable water.
- Flush, restore filters, and check operationRun the required outlets until residual chlorine odor clears; repeat fill-and-flush cycles if needed. Restore or replace filter cartridges per instructions, then check for leaks and proper pump operation.
Never mix cleaning chemicals
- Do not combine bleach with vinegar, ammonia, acids, or other cleaners. Bleach fumes can be dangerous in a small RV. Ventilate the area, wear appropriate protection, and leave immediately for fresh air if you develop irritation or breathing symptoms.
Before You Start: Know Your Tank and Fill Connections
Find the rated tank capacity, the fresh-tank drain, and the correct fill connection in your RV owner’s manual. A 60-gallon tank needs a different measured bleach amount than a 40-gallon tank. Do not estimate capacity from the RV’s length. Before mixing chemicals, also identify the water-heater bypass, water-filter housing, and the valve position that lets the pump draw from the fresh tank.
Gravity fill and city-water inlets are not the same
On an RV with a gravity-fill port, the manufacturer’s procedure may tell you to pour pre-diluted solution through a funnel. Other rigs use a utility-panel selector with settings such as Tank Fill, City Water, and System Use. In city-water mode, an onboard tank may be isolated while the campsite supply feeds the faucets. The Winnebago 2024 Towables manual describes these different valve settings. Use the route specified for your own model; do not assume pouring solution into a city-water connector will sanitize the tank.
Use a hose reserved for potable water, a clean measuring jug, gloves, eye protection, and the exact bleach type specified for your RV. Before connecting to a campground tap, CDC recommends confirming that the source is safe to drink. Disinfecting a tank and then refilling it from an unsafe source defeats the purpose. If the incoming water is already safe to drink, comparing RV water filters for sediment and taste can help you choose a suitable filter, but filtration alone cannot guarantee an unsafe source is potable.
How Much Bleach Do You Need for an RV Fresh Water Tank?
A common published RV manufacturer mixture uses 1/4 US cup of approximately 5% plain, unscented household bleach for each 15 gallons of fresh-water tank capacity. Grand Design’s published procedure specifies 5% sodium hypochlorite; Grand Design’s spring-prep instructions describe one gallon of diluted solution per 15 gallons of capacity. Winnebago’s 2024 Towables manual uses the same bleach-to-tank ratio but describes premixing the total measured bleach with one gallon of water. Follow your own model’s mixing method.
| Fresh tank capacity | 5% plain bleach |
|---|---|
| 15 gal | 1/4 cup (2 fl oz) |
| 20 gal | 1/3 cup (2 2/3 fl oz) |
| 30 gal | 1/2 cup (4 fl oz) |
| 40 gal | 2/3 cup (5 1/3 fl oz) |
| 45 gal | 3/4 cup (6 fl oz) |
| 50 gal | 5/6 cup (6 2/3 fl oz) |
| 60 gal | 1 cup (8 fl oz) |
| 75 gal | 1 1/4 cups (10 fl oz) |
| 100 gal | 1 2/3 cups (13 1/3 fl oz) |
The quantities are calculated from that specific published ratio, not a universal dose for every RV. If your bleach is 6%, 7.5%, 8.25%, or another strength, the final chlorine concentration changes. Use instructions that specifically match your product concentration and RV system rather than guessing or simply copying the chart. Choose fresh, unscented disinfecting bleach without thickeners, fragrances, or added cleaners.
Do not use EPA’s emergency drinking-water disinfection dosage as an RV tank-cleaning recipe: treating a small amount of water for emergency consumption and sanitizing an entire RV plumbing system are different tasks.
Example: calculate for a 60-gallon tank
Using a procedure that explicitly specifies 1/4 cup of the stated bleach for every 15 gallons: 60 ÷ 15 = 4; 4 × 1/4 cup = 1 cup. That is the bleach amount, not the premixing water. Winnebago’s 2024 Towables manual instructs owners to mix the total bleach with one gallon of water. Grand Design’s spring guide describes making one gallon of diluted solution for each 15 gallons of capacity. Both use the familiar ratio, but their mixing procedures differ. Follow one complete manufacturer’s procedure instead of combining steps from several guides.
The chart above is not a recipe for splash-less, scented, gel, or higher-strength chlorine bleach. Products marked 6% or 8.25% are not interchangeable with a method specified for 5%. Where your manual does not explain how to adapt the recipe to the concentration you bought, obtain the specified product or confirm the calculation with the manufacturer.
How Long Should You Let Bleach Sit in the Fresh Water Tank?
Manufacturer instructions vary. For example, these published procedures give different contact times, even though their general bleach recipes are similar:
| Example source | Contact time | Where to check |
|---|---|---|
| Grand Design (spring-prep article) | 3 hours | Its procedure specifies a prepared bleach solution; consult your own Grand Design manual for model-specific details. Grand Design |
| Winnebago (general de-winterizing guide) | At least 4 hours | The same article also describes an alternative concentration/contact-time method; do not mix procedures from different guides. Winnebago guide |
| Winnebago 2024 Towables manual | At least 24 hours | Applies to the manual and models it covers; do not replace it with the shorter generic guide time. 2024 manual, p. 61 |
That is why telling every RV owner to wait exactly four hours is misleading. If your 2024 Winnebago Towables manual says 24 hours, follow that model-specific instruction instead of a shorter general blog guide. Never double the bleach dose just to rush a process unless your actual manufacturer provides and approves that alternative.
Start counting the standing time after the solution has reached the prescribed outlets and the faucets are closed. For instance, the Winnebago 2024 Towables instructions say to circulate until a chlorine odor is detectable, switch off the pump, close the taps, then allow a 24-hour contact period. The older Winnebago de-winterizing article describes four hours for a different general procedure. Do not use a shorter online guide to override your own model-year manual.
During the contact period, do not use the treated water for drinking, ice, food preparation, or brushing teeth. There is also no need to keep faucets running for hours: the manufacturer’s standing-time instruction generally follows circulation through the intended lines, not continuous flow.
When Should You Sanitize Your RV Water System?
The CDC’s 2025 RV water-safety guidance says most RV manufacturers recommend draining, disinfecting, and flushing at least once a year or when the RV has been unused for a few months. Winnebago’s 2024 manual calls for sanitizing at least yearly or after storage/winterization.
- Before first use of a newly purchased or unfamiliar RV, as directed by its maker.
- After seasonal storage or de-winterizing; de-winterize the plumbing first if antifreeze remains.
- At the annual interval stated in your owner’s manual, or after prolonged non-use.
- After a suspected microbiological problem, following guidance from the RV maker or a qualified technician; do not assume household bleach fixes every type of contamination.
Water safety: contamination is not always a bleach problem
- Chlorine disinfection does not remove heavy metals, salts, fuel residues, or most other chemicals. If the water supply may be chemically contaminated, stop using it and seek appropriate testing or professional guidance. EPA water safety guidance explains this distinction. Follow local boil-water or do-not-drink notices; sanitizing your RV does not override them.
After storage, flush RV antifreeze first
If your RV was winterized with pink RV antifreeze, follow your de-winterizing procedure and flush it out before sanitizing. Visible antifreeze color in a faucet is different from chlorine odor, and treating both at once makes it difficult to know which solution is reaching the pipes. Our RV de-winterizing guide covers that first stage.
If you purchased a used RV, also look for modifications around the pump, filter, and heater: previous owners may have installed an added filter, a water softener, or different bypass valves. Where plumbing differs from the factory diagram, identify the equipment before putting sanitizer through it.
Should You Bypass the RV Water Heater and Remove Filters?
This is where copying another RV owner’s setup can cause trouble. Your RV water heater may be a storage-tank model, a tankless unit, or a hydronic system. The right valve positions and chemical restrictions depend on the model. If you’re also inspecting the heater, our RV anode rod compatibility guide explains why Suburban tank-style units differ from Dometic/Atwood and Suburban IW60 tankless models.
- Water heater: Turn it off before draining or working on the system. Check the heater and RV manuals to see whether it must be bypassed during sanitizing and how the hot-water lines are treated. Bypassing a heater tank does not automatically mean bypassing all hot-water distribution pipes.
- Filters: Bypass or remove cartridges only as directed by your filter and RV documentation. Reinstall or replace them afterward as specified. The CDC notes that many taste-improving filters do not remove germs.
- Other outlets: Treat the exterior shower, toilet supply, icemaker, and additional fixtures only when the maker’s procedure includes them. Some equipment has its own sanitizing and flushing steps.
- Water pump: Never run it with an empty tank. The Winnebago manual warns that dry-running can cause damage.
If the manufacturer instructions do not clearly cover a particular heater or branch line, contact the RV or heater maker rather than guessing that bleach is safe for every component.
What the heater bypass means
A bypass valve normally directs water around the heater tank while allowing some or all distribution lines to remain in use. It does not automatically mean the hot-water pipes are untouched. For example, the 2024 Winnebago Towables manual depicts a heater-bypass configuration for sanitizing and winterizing. Other equipment may work differently. Never drain a hot, pressurized heater; switch it off and follow its cool-down and depressurization instructions. Once flushing is finished, refill and purge air from the heater before turning it back on.
Don’t forget less-used water outlets
Make a list of the bathroom and kitchen taps, shower, outside shower, toilet supply, and any manufacturer-approved ice-maker or dispenser lines. Open each appropriate hot and cold side during the circulation and flushing stages. If chlorine cannot reach an outlet because a valve is closed or the equipment is isolated, adding extra bleach to the fresh tank will not solve the routing problem. Check the plumbing diagram instead.
How to Flush the Bleach Out of an RV Water System
When the required contact time ends, drain the fresh tank and lines according to the owner’s manual. Refill using a clean potable-water hose from a drinking-water-safe source. Open the permitted taps and outlets one by one to flush until the residual chlorine odor clears, then repeat the rinse if needed. Restore the water-heater bypass to its normal setting and refill the heater according to its manual before switching the heat back on.
Do not pour vinegar or another chemical into a system that may still contain bleach. Some specific RV manuals describe additional rinsing steps after bleach has been removed; follow those exact instructions rather than improvising a neutralizing solution.
If the chlorine smell does not clear
A single rinse is not always enough. Drain, refill with potable water, and repeat the manufacturer-specified flushing sequence. The Winnebago manual explicitly says to repeat until bleach odor is gone. Restoring a filter too early may trap chemical taste in the cartridge; follow the cartridge manufacturer’s replacement or reinstall instructions. If water still looks unusual or smells strongly chemical after several proper flush cycles, stop using it for drinking and investigate instead of masking the odor with vinegar.
A chlorine test strip may help check for residual disinfectant where the equipment maker recommends it, but a strip cannot prove that water is free of microbes, heavy metals, or chemical pollution. Smell alone is not a substitute for the full maintenance procedure.
Where Can You Dispose of Sanitizing Water?
Do not assume chlorinated rinse water can be released onto the ground, into a lake or stream, or into a campsite sewer connection. Check campground directions and local wastewater rules. Use designated facilities when required, and keep potable-water equipment separate from the black-tank dumping gear. The RV tank dumping guide covers the waste-side equipment and routine.
Can You Sanitize an RV Fresh Water Tank Without Bleach?
Possibly—if a commercial product or alternative procedure is explicitly approved for your RV and carries directions for potable-water-system sanitizing. Check the label for actual sanitizing claims and the manufacturer’s dilution/contact-time instructions. An ordinary tank cleaner or deodorizer is not automatically a sanitizer.
Published DIY hydrogen-peroxide recipes conflict sharply, so this guide does not recommend an unverified peroxide dosage. Vinegar is not a proven substitute for a manufacturer-approved sanitizing procedure. If the RV maker prohibits bleach in part of your system, ask for its approved alternative instead of adapting internet recipes.
Common Mistakes to Avoid
- Using scented, splash-less, thickened, or otherwise additive-containing bleach.
- Copying a bleach chart for 5% solution when the product in hand is stronger.
- Using a four-hour wait because a general article says so, despite a longer model-specific instruction.
- Failing to sanitize the branches allowed by the manual, or assuming a heater bypass covers every hot-water outlet.
- Leaving an incompatible filter in place or running the pump dry.
- Mixing vinegar, ammonia, or other cleaners with bleach; drinking or cooking with water before the flushing procedure is complete.
- Dumping treated water somewhere the campground or local rules do not allow.
Troubleshooting: Problems You Might Notice
A sanitizing cycle can expose problems that were already there. Bringing the system back under pressure may reveal a loose fitting; a valve left in the wrong position can make one faucet run while another remains dry. Grand Design recommends checking for short-cycling at the pump and inspecting pipes under sinks during spring preparation. Use these observations to decide what to check next instead of automatically adding another dose. If the pump will not prime or cycles with every faucet closed, RV water pump troubleshooting can help separate a supply issue from a leak. If further testing confirms pump failure, compare compatible 12V RV water pumps before ordering a replacement.
| Problem | What to check |
|---|---|
| No chlorine smell at one tap | Confirm tank-versus-city-water valve settings and whether the branch is included in the maker’s procedure |
| Pump runs but no water flows | Turn off pump; inspect tank water level, intake valve and priming directions rather than running it dry |
| Pump cycles with faucets closed | Look for accessible leaks, dripping fixtures or a pressure-side issue; arrange repair if needed |
| Hot water alone smells bad | Consult the exact water-heater manual; do not assume generic tank bleach instructions apply inside it |
| Bleach smell remains after rinsing | Repeat the prescribed drain and potable-water flush, then seek help if it remains abnormal |
If the pump runs but no water reaches a faucet after refilling the system, follow the RV water pump priming procedure before considering a replacement. If a hose or fitting leaks, switch off the pump or incoming pressure and address the leak before continuing. Persistent rotten-egg odor isolated to the hot-water side deserves a water heater odor diagnosis; it is not proof that the fresh tank needs stronger sanitizer.
When to Stop and Get Help
If a rotten-egg odor returns, the pump will not prime, the water heater documentation conflicts with the general procedure, or the water is still discolored or unpleasant after flushing, stop using it for drinking and contact the appropriate RV or plumbing professional. For possible chemical contamination, seek testing rather than repeated chlorine treatments.
How to Keep RV Fresh Water Clean Between Trips
Sanitizing is easier when the system stays clean during normal use. Keep the potable-water hose separate from sewage equipment and protect its ends from dirt. Never lay the drinking-water hose beside an open sewer connection while filling the tank. For the waste side, follow the separate RV sewer-hose cleaning routine. Store clean hose ends capped or in a clean bag as practical.
The CDC warns that many filters used mainly to improve taste do not remove germs. Read each cartridge’s actual removal claims and replacement instructions. Also, do not use water straight from an RV tap for sinus rinsing, contact lenses, or certain medical devices; the CDC gives separate guidance for those situations. Maintaining a tank does not make every downstream use safe.
A Few Practical Questions
What if the tank is an unusual size, such as 37 gallons?
Calculate from the model-specific bleach ratio and rated tank capacity. Do not simply round a 37-gallon tank up to 60 gallons. If the bleach strength or fill method is different from the manual, ask the manufacturer before adjusting.
Can I leave the solution in overnight?
Only if the prescribed contact time for your model permits it. Some manuals require 24 hours; other manufacturers publish shorter methods. More time with an unapproved chemical mixture is not automatically safer.
Does smelling chlorine mean the water is drinkable?
No. Chlorine odor during circulation is only one step in the process. You still have to finish the required contact period, empty the solution, refill with potable water, and flush the lines as instructed.
Final Checklist
Check the RV-specific instructions, use the correct bleach concentration and amount, reach the plumbing the maker specifies, and wait for the manufacturer’s contact time. Drain and flush with potable water until the system is ready to use. Sanitizing is maintenance—not a guarantee that an unsafe source of water has become safe.