TL;DR: To hook up a camper to sewer, park close enough to reach the campground’s sewer inlet, then keep both tank valves closed while you connect. Attach the sewer hose to your RV’s waste outlet first, then to the sewer inlet, and support it so it slopes downhill the whole way. Leave the black tank valve closed until you’re ready to dump, empty black first, then gray, and rinse the hose before you disconnect.
Every campground with a sewer hookup expects the same basic connection. Once you know the order of steps, the whole job takes a few minutes and stays mess-free.
This guide walks through connecting a camper to a campground sewer hookup, from parking distance to the final rinse. It sticks to hookup and setup, not the full dumping and tank-cleaning process, so you can move through it quickly the first time you try it.
What Do You Need to Hook Up a Camper to Sewer?
You need a sewer hose, a way to connect it to the campground inlet, and gloves. A hose support helps a lot but isn’t strictly required. Most beginners can put together a full setup with four items, plus a fifth if their site layout is awkward.
RV sewer hose. This is the one non-negotiable item. It runs from your RV’s waste outlet to the campground’s sewer inlet and usually has a bayonet-style fitting on the RV end. If you need to compare options, our guide to choosing the right RV sewer hose breaks down wall thickness, fitting type, and storage size across current kits.
Sewer elbow or campground adapter. Many hose kits include this already. A clear elbow lets you watch waste flow so you know when the tank is empty, and a universal adapter helps the hose fit different inlet shapes and sizes.
Disposable gloves. Wastewater carries bacteria you don’t want on your hands. Keep a box in your RV so you’re never tempted to skip this.
Sewer hose support. This is optional, but it makes a real difference on uneven ground. It holds the hose off the dirt and keeps it sloped downhill the whole way. Our RV sewer hose support guide compares current options if you don’t already have one.
Hose extension. You won’t need this at most sites, but it’s worth keeping in your rig for the times your spot doesn’t line up with the sewer inlet. More on that later in this guide.
As one example of a complete kit, the Camco RhinoFLEX 20-Foot RV Sewer Hose Kit (model 39742) ships with a bayonet fitting, an elbow, and end caps in one box. It isn’t a required purchase. Plenty of RVers use separate hoses and fittings just fine.
How to Hook Up a Camper to Sewer
Connecting a camper to sewer takes seven steps, done in this order: park close enough, confirm both valves are closed, inspect the hose, connect it to the RV, connect it to the campground inlet, support it on a downhill slope, and check the whole setup before you open a valve.
1. Park Close Enough to the Sewer Connection
Before you unhook anything, look at where your RV’s sewer outlet lines up against the site’s sewer inlet. Most sewer hose kits run 15 to 20 feet, so you want the outlet within that range without stretching the hose tight.
A hose pulled taut has less slack to sag into a proper downhill slope, and it puts more strain on the fittings at both ends. If the site’s sewer connection sits farther away than your hose can comfortably reach, a hose extension solves this without forcing a stretched connection.
2. Make Sure the Black and Gray Tank Valves Are Closed
Before you touch the termination cap on your RV, confirm both the black and gray tank valves are pushed all the way closed. If a valve is even partly open when you pull the cap, waste can spill out before the hose is anywhere near it.
This step takes five seconds and it’s the one beginners skip most often because it feels like nothing is happening yet. Check it anyway, every time.
3. Inspect and Prepare the Sewer Hose
Run your hands along the hose and check both fittings for cracks, flat or missing gaskets, and any obvious damage from the last trip. A hose that looked fine when you stored it can develop a soft spot or a dried-out gasket in storage.
4. Connect the Hose to the RV Waste Outlet
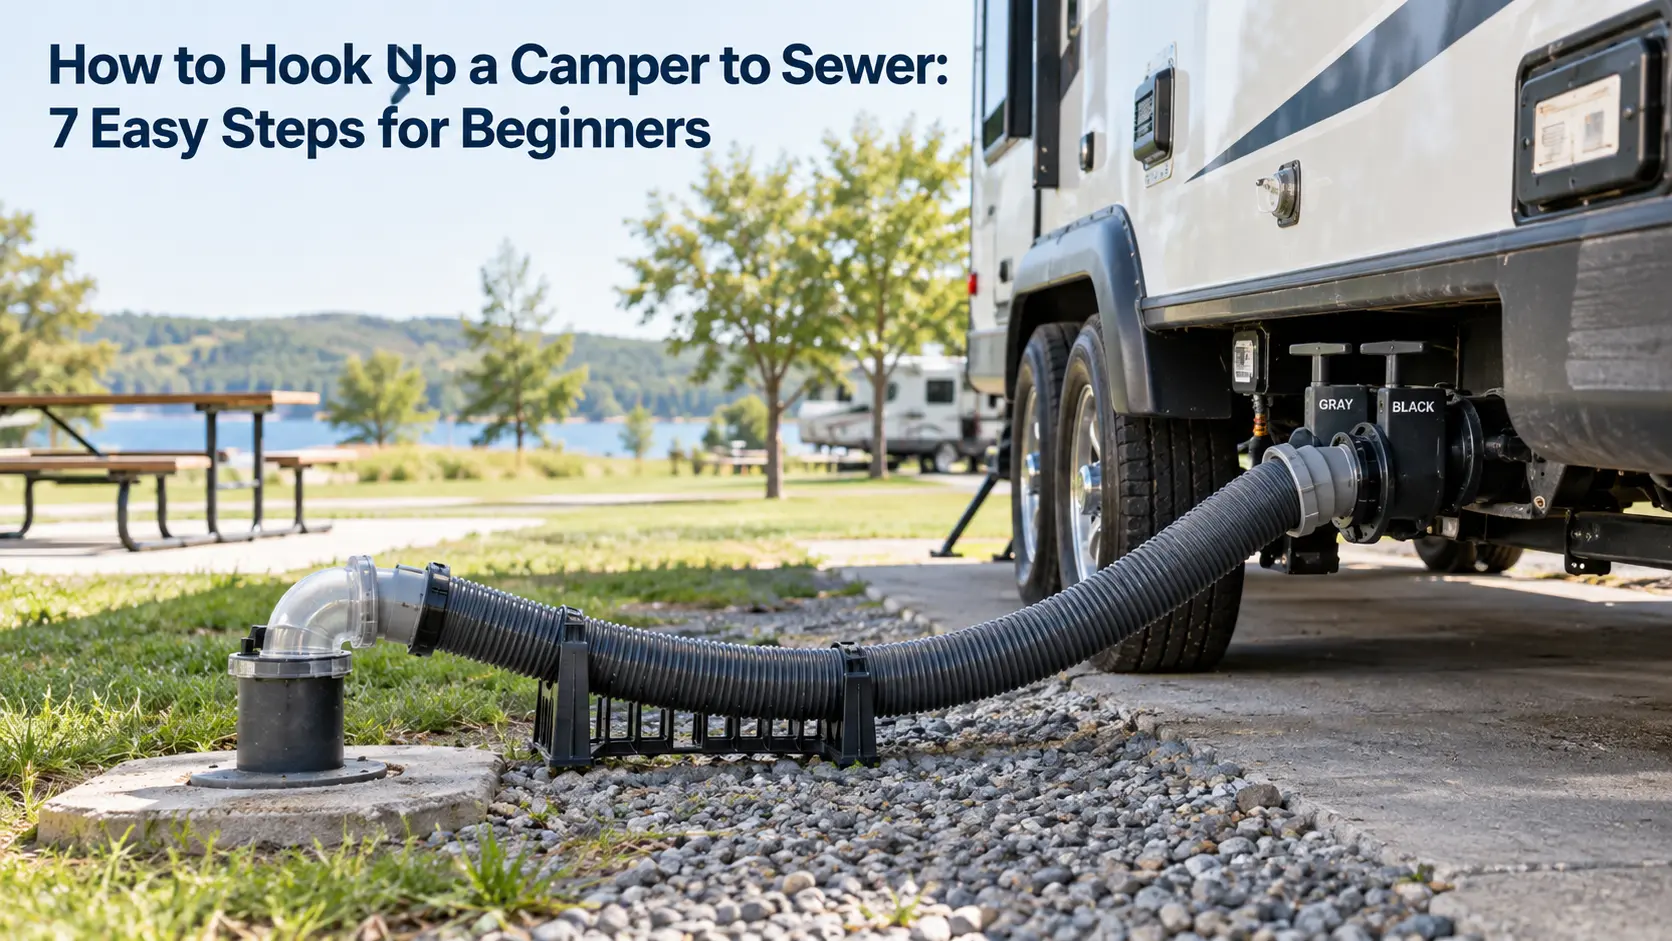
Most RVs use a bayonet-style fitting at the waste outlet. Line up the hooks on the fitting with the lugs on the outlet, then twist until it locks fully into place.
A properly seated bayonet fitting should feel snug and resist a light pull. If it spins freely or wiggles, it isn’t locked, and you’ll want to disconnect and try again rather than trust a loose connection with a tank full of waste behind it.
5. Connect the Hose to the Campground Sewer Inlet
Campground sewer inlets vary. Some accept a simple push-fit connection, and others are threaded or capped with a screw-on lid you’ll need to remove first.
Insert your elbow or adapter into the inlet so it sits snugly, without gaps around the edge. A universal 4-in-1 style adapter, like the kind included with many Camco elbow fittings, is built to fit several common inlet sizes so you don’t need to guess which adapter a given campground uses.
6. Support the Sewer Hose With a Downhill Slope
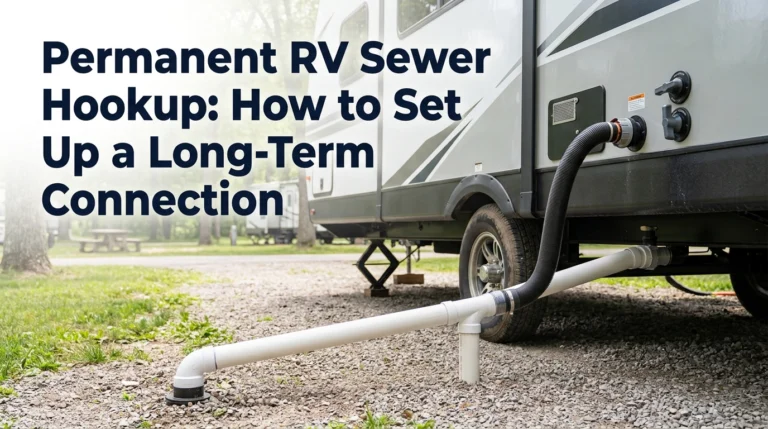
Once both ends are connected, set a hose support underneath the hose so it runs on a steady downward slope from the RV to the sewer inlet, with no dips or low spots in between. A dip lets liquid and waste pool and sit in the hose instead of draining straight through, which is a common cause of odor and slow drainage later.
This step matters more than it looks like it should. Our RV sewer hose support guide covers which designs handle uneven or sloped campsites best.
7. Check the Setup Before Opening Any Valve
Walk the full length of the hose one more time before you touch a valve. Confirm both fittings are locked, the hose has a consistent downhill slope with no sagging sections, and nothing is pinched or kinked along the way.
This last check takes under a minute and it’s your last chance to catch a loose connection before waste is actually flowing through it.
Should You Leave the Black Tank Valve Open When Hooked Up to Sewer?
Generally, no. A black tank needs a good volume of liquid to carry solid waste out when you dump it. Leave the valve open the whole time you’re connected and the liquid drains away while solids stay behind, which is exactly how a hardened waste pyramid forms at the bottom of the tank.
This isn’t a minor inconvenience. Once solids build up and dry out, they can block your tank’s sensor and even the outlet itself. Our guide to fixing a black tank pyramid plug walks through what that looks like and how to clear one if it’s already happened.
RVers who troubleshoot this online land on the same answer with striking consistency: keep the black valve closed, let the tank fill with a mix of solids and enough liquid to flush them out, and only open it when you’re ready to dump. That consensus lines up with the mechanical reason behind it, not just habit.
Should You Leave the Gray Tank Valve Open?
It depends. Many RVers leave the gray tank valve open during a longer full-hookup stay, since dishwater and shower water don’t create the same waste-pyramid risk as black tank contents. Closing it for the last day or two before you leave gives you a reserve of gray water to rinse the sewer hose right after you dump the black tank.
The RVgeeks, longtime full-time RVers writing about this exact question, describe leaving their gray valve open for the convenience of unlimited water use during a stay, without running into problems doing it that way. That’s a reasonable approach for many sites, though it isn’t universal.
Some campgrounds set their own rules about leaving any valve open at a full-hookup site, and a few local codes address it too. Check your site’s posted rules before you assume the general approach above applies everywhere you camp.
How Do You Dump the Tanks Before Disconnecting?
If you’re unsure what the gray tank holds or why it’s emptied after the black tank, start with our RV gray water tank guide.
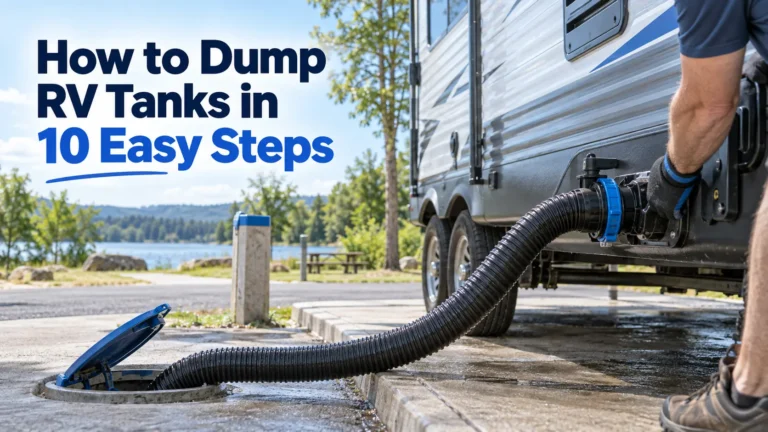
Dump the black tank first, close its valve, then dump the gray tank so its water rinses out any black tank residue left in the hose. Close both valves, let the hose drain fully, then disconnect and cap the system.
Open the black tank valve and let it empty completely.
Close the black tank valve firmly.
If your RV has a built-in black tank flush system, run it now to rinse the tank before you move on.
Open the gray tank valve. The gray water helps wash any remaining black tank waste out of the hose.
Close the gray tank valve once it’s empty.
Lift the RV end of the hose slightly to help drain any water left inside toward the sewer inlet.
Disconnect the hose at both ends and replace the caps on the RV outlet and the sewer inlet.
This order isn’t arbitrary. Go RVing’s own sewer hookup guidance follows the same black-then-gray sequence, confirming the connection is secure before any valve opens and using the gray tank as the last step to flush the line.
Once the sewer hose is securely connected, drain the black tank before the gray tank. The gray water helps rinse waste residue from the hose. For the complete procedure, follow our 10-step tank-emptying guide, including valve operation, rinsing, and cleanup.
Common RV Sewer Hookup Mistakes
Most sewer hookup problems trace back to a short list of repeatable mistakes rather than bad luck.
Opening a valve before the hose is fully connected. Always finish and check the connection first.
Leaving the black tank valve open the whole stay. This is the single biggest cause of a waste pyramid.
A loose sewer adapter at the campground inlet. Push or twist it in until it seats fully, with no visible gap.
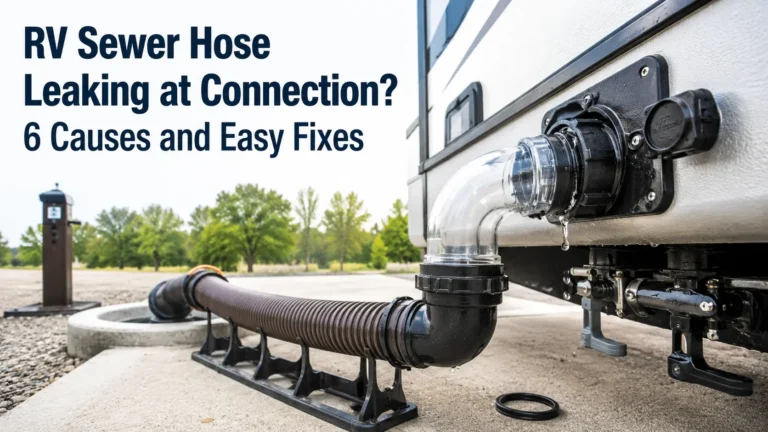
A damaged or missing gasket. This is one of the most common causes behind an RV sewer hose leaking at the connection, and it’s worth checking before every trip, not just after a leak shows up.
Letting the hose sag in the middle. A dip traps waste and slows drainage, even with everything else connected correctly.
Stretching the hose too tight. This strains both fittings and can pull a connection loose over time.
Using a hose that’s too short for the site. Guessing rarely works out. Measure or estimate the distance before you park.
Ignoring a small leak. A minor drip at a fitting tends to get worse, not better, the longer you leave it alone.
Leaving the hose across a walkway. It’s an easy tripping hazard for you and your neighbors.
Using your sanitation hose for anything else. Never use a sewer hose or its fittings for drinking water tasks, and keep it stored separately from your fresh water gear.
What If the Sewer Inlet Is Uphill or Too Far Away?
Gravity does the work in a normal sewer hookup, so it only works when the hose can run downhill the whole way. If the inlet sits uphill, sits far from your RV, or needs to clear an obstacle a standard hose can’t reach around, a hose extension or a portable macerator pump can solve the problem.
A hose extension is the simpler fix when distance is the only issue and the ground still slopes the right direction. It just adds length without changing how the system works.
An uphill inlet is a different problem, since gravity alone won’t move waste upward. A macerator pump breaks waste down and pushes it through a smaller hose, including uphill or over longer distances than gravity flow can manage. Our comparison of RV macerator pump vs sewer hose breaks down when the extra cost and setup are worth it, and when a standard gravity hose is still the better call.
If your campsite has no sewer hookup at all, a portable RV waste tank lets you take wastewater to an approved dump station without moving your camper
Once you’ve connected a few times, the whole process becomes routine. The steps stay the same no matter what campground you’re at, and a few minutes of care at setup saves you a mess later.
Frequently Asked Questions
Do you leave your RV sewer hose connected at a campsite?
Many RVers do leave the hose connected for the length of a full-hookup stay, as long as both valves stay closed except when dumping. If you’d rather not leave it connected the whole time, disconnecting between dumps and recapping both ends works too. Either approach is fine as long as the valves are managed correctly.
Should the black tank valve stay open when connected to sewer?
No. Keep it closed until you’re ready to dump. An open black tank valve lets liquid drain away while solids stay behind, which leads to a hardened waste pyramid at the bottom of the tank.
Which RV tank should you dump first?
Dump the black tank first, then the gray tank. The gray water that follows helps rinse black tank residue out of the hose before you disconnect it.
Does an RV sewer hose need to slope downhill?
Yes. The hose relies on gravity to move waste from your RV to the sewer inlet. A hose with dips or flat sections lets waste sit and pool instead of draining straight through, which causes odor and slow drainage.
Do you need an RV sewer hose support?
It isn’t required, but it helps a lot on uneven ground. A support keeps the hose elevated and holds a consistent downhill slope, which is harder to maintain by just laying the hose across the ground.
Can you hook a camper up to a home sewer cleanout?
In some cases, yes, using an adapter designed for a home sewer cleanout connection. Local rules vary on whether this is allowed, so check your municipality’s regulations before connecting an RV to a home sewer line.