TL;DR
- A “dead” RV water pump is often a setup or power problem rather than a failed pump. Check the tank level, the city water hose, the pump switch, and the valve positions first.
- Then check the battery and fuses. If the pump runs but gives no water, look at the strainer and air leaks.
- If it cycles, hunt for a leak. Replace the pump only after those checks.
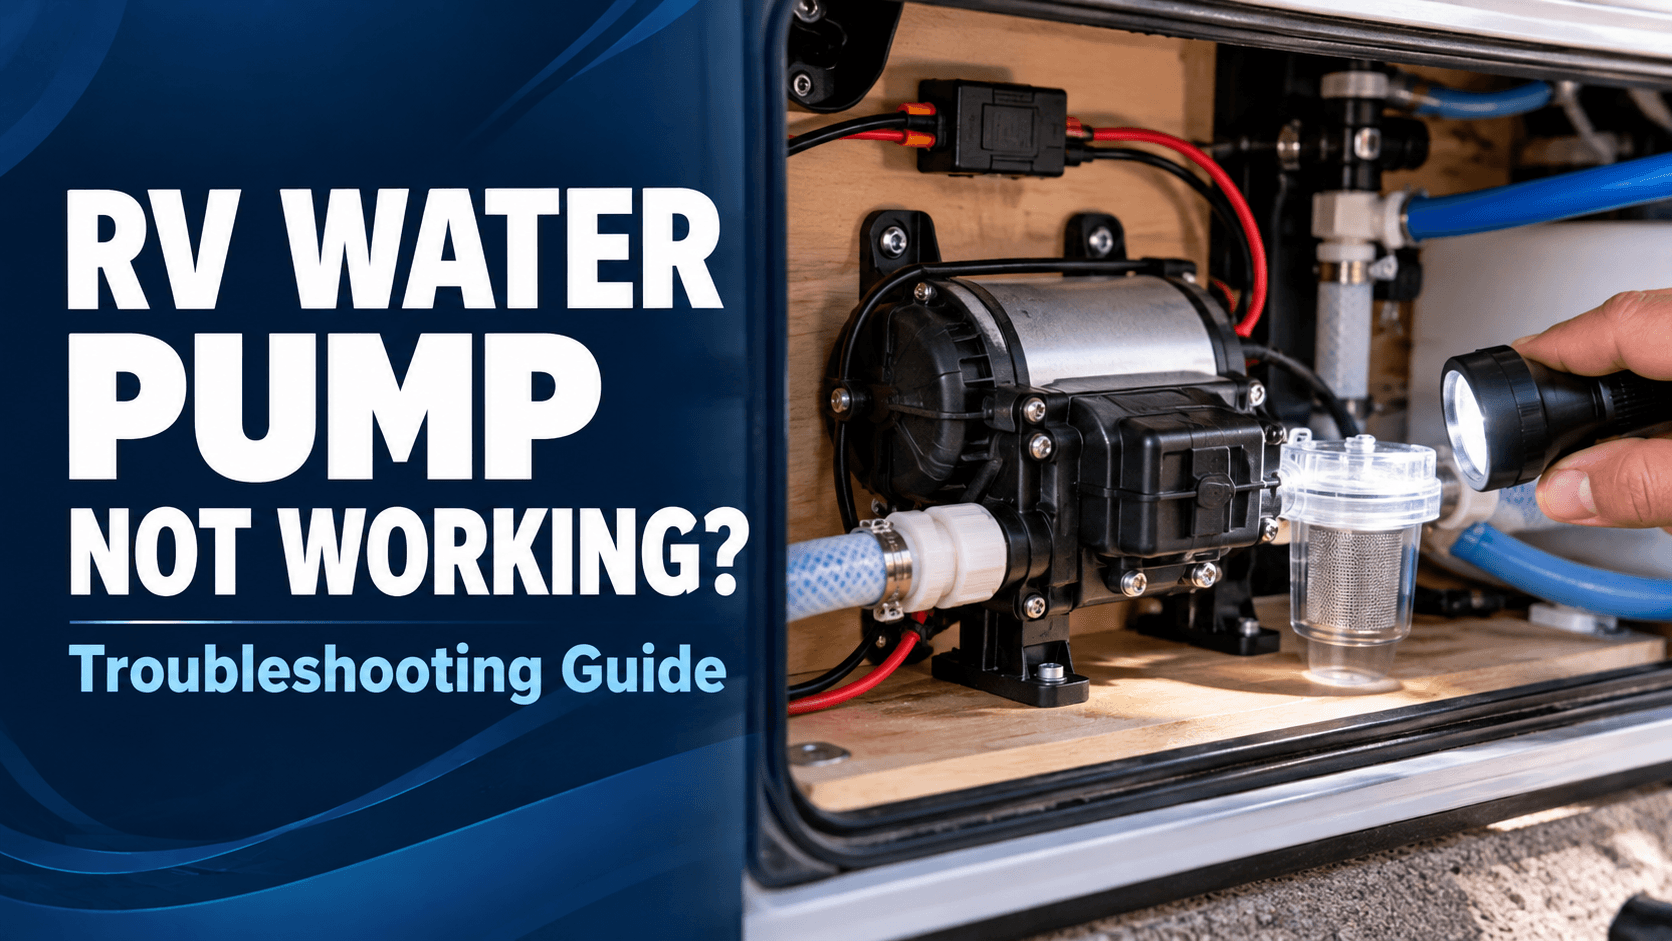
You open a faucet and get no water—or the pump keeps running long after you close the tap. When your RV water pump is not working, the pump itself may be fine. Start with the fresh-water tank, valve positions, pump switch, and 12 V house power before buying parts. Most RV water pumps start when water pressure drops and stop when it builds; poor power or an inlet problem can make a healthy pump act broken. Pentair-Shurflo’s troubleshooting guide backs this simple check-first approach.
Use the symptom table to jump to the right section. Start with checks that do not need tools, and leave live electrical tests or internal pump work to someone qualified. Fuse ratings, allowable dry-run time, and pump settings vary by model, so use your RV and pump manuals for specifications.
RV Water Pump Not Working? Start With These Checks
Confirm the fresh tank has water, the city water hose is disconnected, the pump switch is on, the house battery is charged, and the winterizing or bypass valves are in normal-use positions. These no-tool checks are quick and need no wiring work, so do them before anything else.
Work through these in order:
- Tank level. Make sure there’s actually water in the fresh tank. If your rig has a second pump switch, such as one on the monitor panel, make sure it’s on too.
- Bypass valve position. A bypass valve left in the winterize position can make the pump run with no water at the faucets, according to a commercial troubleshooting guide. Treat that as a secondary source and check your own valves against your rig’s plumbing layout.
- City water hose. A hose attached to city water changes how you test the pump. Disconnect it so you’re testing the pump itself.
- Loose or cracked inlet fittings. Vibration loosens hardware over time (RV Fixed Ops Today). A loose fitting on the inlet side can let the pump pull air instead of water.
- Spring startup. If the rig was just de-winterized, air in the lines is common. See de-winterizing your RV plumbing for the full startup and priming steps.
Which Symptom Matches My Pump?
Find the symptom that matches your pump, then start with the next simple check. If your symptoms point to live wiring or internal pump repair, stop and use a qualified technician.
| What You Notice | Likely Causes | Next Single Test |
|---|---|---|
| Pump is silent | No 12 V power: weak battery, switch, blown fuse, loose wire, tripped thermal protector (manufacturer troubleshooting list, trade guidance) | Check the battery, then the fuse, then voltage at the pump |
| Pump runs but little or no water, or it sputters | Empty tank, clogged strainer, air leak on the inlet, bypass valve in winterize position, debris in pump valves (manufacturer, trade guidance) | Inspect the inlet strainer and inlet fittings |
| Pump cycles on and off with no tap open | Pressure leaking somewhere: drip, toilet valve, drain cap, worn bypass valve, internal leak (owner anecdote, trade guidance) | Close every outlet and hunt for leaks |
| Pump won’t shut off | Leaks, trapped air, debris, or over-adjusted pressure switch (manufacturer, 4008 only) | Rule out leaks, then check for air in the outlet line |
If the symptom you actually have is no water to the bowl, start with the RV toilet won’t flush page, because the toilet has its own valve and supply line to check.
Why Won’t My RV Water Pump Turn On?
A silent pump may have lost its 12 V supply, or its switch, fuse, battery disconnect, or ground may be at fault. A hot motor can also trigger thermal protection. Check the accessible basics first; don’t replace the pump before the supply has been diagnosed safely.
Safety
- Shorting a live 12 V circuit can melt wire and start a fire. For fuse replacement and any wire handling, turn off the pump switch and disconnect the battery or the 12 V supply first (fuse guide). Keep water away from electrical connections.
Work through the checks in this order:
- Check the battery and disconnect Confirm the house battery is charged and the battery disconnect is in its normal operating position. Low supply voltage can reduce pump performance, but 12.5 V is not a universal minimum. Compare readings with the requirements of your exact pump model.
- Check the pump switch Make sure it’s on, including any second switch on a monitor panel.
- Check the panel fuse Find the fuse for the water pump circuit in your 12 V panel.
- Look for an inline fuse near the pump Fuse location varies. The Shurflo 4008 manual shows a fuse on the red (positive) lead. Trade sources describe checking the panel fuse first, then the switch, then any inline fuse on the pump wiring (RV DIY). One answerer put an inline fuse about 18 inches from the pump on a Keystone, which is a single owner report. Some rigs may have none. Confirm in your manual rather than assuming.
- Inspect the fuse safely Switch off power before inspecting or replacing the correct fuse. Use the same type and rating required by the RV or pump maker. If it blows again, stop—never install an oversized fuse.
- Check voltage at the pump A qualified person can test pump voltage under load, the switch, and the ground against the maker’s specifications. Exposed energized connections can short and overheat wires, so don’t attempt live testing without the right training and equipment.
If a fuse is blown, replace it only with the same rating and style. This guide doesn’t give an amperage because it varies by pump, so use the rating on your pump label or in your manual.
A hot motor may also have tripped its thermal breaker, which resets once the motor cools (RV Fixed Ops Today). Let it cool before retrying, and don’t try to bypass the protection.
Stop and get help
- If a new fuse blows right away, stop. That points to a short or a seized motor, and repeating the test with bigger fuses is a fire risk.
Why Does My RV Water Pump Run but Not Pump Water?
If the motor runs but little or no water reaches the faucet, the pump may be drawing air or struggling to get water. Start with the fresh-tank level, inlet strainer, winterizing valve, kinked hoses, and loose or cracked inlet fittings. A failed diaphragm or valve is possible, but check the supply path first. If the tank was recently emptied, confirm the fresh tank drain valve is closed before testing the pump.
Check these in order:
- Inlet strainer. The Shurflo 4008 manual calls for a 50-mesh strainer on the pump inlet, and the Shurflo 4009 manual requires an inlet strainer for warranty coverage. Check your own pump’s manual for its strainer spec. Look for debris, and for a cracked housing that sucks air. One owner found a freeze-cracked strainer pulling air, and replacing it fixed the pump (Escape forum).
- Air after storage or winterizing. Confirm the fresh tank has water and the winterizing valve is set for normal use. Open one cold-water faucet and allow the pump to prime only as long as your model manual permits. If no water arrives, switch it off and inspect the strainer and suction-side fittings for air leaks. For the proper startup sequence, see how to prime an RV water pump. The de-winterizing procedure covers the full restart.
- Kinks and restrictions. A kinked or restricted inlet or outlet line, or debris or swollen valves inside the pump, can stop flow (Shurflo Lo-Flo 105).
- Bypass valve position. Double-check it, as noted above.
Don’t let the pump run dry for long. Dry-run tolerance is model specific. One Shurflo marine pump manual rates that model to run dry, but it’s a marine model, not an RV pump (Aqua King II manual). Check your own manual and don’t assume yours can.
To tell a bad pump from a blocked line, one owner bench-tested a Flojet pump by removing it and running it from a bucket through a short hose. That revealed debris in a pump chamber (forum thread). It’s one owner’s method, not a manufacturer procedure.
Sediment in the tank can reach the strainer too, so see sanitizing the fresh water tank for cleaning it out. A filter at the campground water hookup serves a different purpose and will not clear a blocked pump inlet strainer.
Why Does My RV Water Pump Keep Cycling or Won’t Shut Off?
A pump that keeps cycling usually sees pressure leaking away somewhere: a drip, a running toilet valve, a leaking drain cap, a worn bypass valve, or an internal check valve or diaphragm leak. A pump that never shuts off may have a pressure-switch or air problem. Find leaks first, then touch the switch.
Safety
- Pressurized lines can spray when opened. Turn the pump off and open a faucet to relieve pressure before loosening any fitting.
Start with the leak hunt:
- Close every faucet, the shower, and the outdoor shower.
- Check the toilet water valve. A leak there is easy to miss. See toilet water valve and toilet supply line leaks.
- Check low-point drain caps and the water heater relief valve. Owners report slow leaks at a shower valve, drain caps, or relief valve cycling the pump (Keystone forum).
- Check the bypass valves. Worn or partly open bypass valves can leak internally with no visible water, so check every valve in a three-valve system (RV Boondocker).
If the leak hunt turns up nothing, Family RVing describes a technician-style test that blocks the pump outlet to separate a leak inside the pump from a leak downstream (Family RVing). Because the exact steps vary, follow your pump’s manual or have a technician do it.
A pump that won’t shut off can also mean air trapped in the outlet line or a closed line (Shurflo Lo-Flo 105).
Do not adjust the pressure switch or bypass yourself. The Shurflo 4008 manual specifies an approximately 55 psi shut-off setting for that model and says bypass adjustment is for a professional technician with gauges. An incorrect adjustment can prevent shut-off; other pump models may use different settings.
Rapid cycling with a faucet partly open can point to flow restrictions, such as a clogged aerator or shower head. Cycling when all faucets are closed more often suggests pressure loss. The Pentair-Shurflo troubleshooting list makes that distinction. An accumulator is not universally required; the Shurflo 4008 manual says its bypass pump does not need one.
Some pumps offer model-specific valve, switch, or pump-head repair kits. Others are easier to replace as a whole. Check your model number and manufacturer parts list before buying components.
Why Is My RV Water Pump Loud or Vibrating?
A loud pump does not always mean a bad motor. Loose mounts, air in the water line, a clogged strainer, or rigid plumbing can carry vibration through the RV. Start with a visual check after switching the pump off.
- Rattling or banging: Check accessible brackets, mounting feet, and nearby tubing for looseness. Do not overtighten rubber mounting feet.
- Rough or uneven sound: Check the tank level, inlet strainer, kinked lines, and suction fittings for air leaks.
- Noise traveling through the walls: The Shurflo 4008 installation manual recommends flexible hose at both pump ports, rather than connecting the pump directly to rigid plumbing. Use your own manufacturer’s installation instructions.
Turn the pump off and get professional help if it grinds, overheats, smells burnt, or shows damaged wiring.
Is It Worth Repairing or Replacing the RV Water Pump?
Keep the existing pump when a simple external fix—such as cleaning the strainer or restoring the correct valve position—solves the problem. If the electrical supply and plumbing check out but the pump still won’t build pressure, look up repair kits by model number or ask a technician whether replacement makes more sense.
A simple decision path:
- Do the cheap checks first. Tank, valves, strainer, battery, fuses, and leaks.
- Get a proper diagnosis if it still fails. A qualified technician can test the electrical supply and pump performance. Do not bench-test a pump that overheats or smells burnt.
- Stop at heat or burning smell. If the pump still runs hot or smells burnt, stop. That’s a safety trigger, not a reason to try again.
This guide doesn’t give replacement prices or typical pump lifespan because neither is verified here.
Before ordering, compare 12V RV water pumps by flow, shut-off pressure, and electrical compatibility. If you replace the pump, the general basics from Shurflo manuals (check your exact model’s manual, since this is general guidance rather than a model-specific procedure) include:
- Match the new pump’s ports and flow to your system.
- Use flexible hose on both ports.
- Keep a 50-mesh strainer on the inlet (the Shurflo 4008 manual calls for one).
- Use properly sized wire (the 4008 manual calls for 16 AWG or heavier) and the fuse or breaker rating on the pump label.
- Mount it on a solid surface in the location your pump’s manual specifies.
- Add a check valve between the pump and water heater where the manufacturer recommends it (Shurflo 4009).
The basic swap goes like this: turn off the 12 V supply and disconnect the battery, drain or isolate the water, disconnect the hoses, swap the pump, reconnect everything, prime the system, and check for leaks. Your exact model’s manual governs.
When Should I Stop and Call a Professional?
Stop and get help when the problem involves electrical hazards, a leak you can’t find, or a pump that still fails after power and plumbing checks. Don’t keep testing past these warning signs.
Stop and get help
- if you notice any of these:
- A fuse that blows again right away.
- A burning smell or a very hot motor.
- Melted or scorched wire insulation.
- Water near the 12 V connections or the battery.
- A leak you can’t find and can’t fix.
- A pump that still fails after power and plumbing checks.
Freezing is another common reason for pump and strainer damage. See winterizing with antifreeze to prevent it, and using the toilet when winterized if you’re in a cold-weather setup.
Conclusion
Many RV water pump problems trace back to setup, power, or a leak, so rule those out first. Remember three things:
- Check setup, valves, battery, and fuses before blaming the pump.
- Match your symptom to the table, then do the single next test.
- Cycling is usually a leak, so find it before replacing anything.
Start with the symptom table and no-tool checks. If voltage testing or pump disassembly is needed, follow the exact model manual and involve a qualified technician. More connected topics are in the RV plumbing guides.