TL;DR
- Find exactly where the water comes from before you replace anything. Switch the pump off, close the water supply, open a faucet to release pressure, dry everything, then watch which spot gets wet first.
- A loose strainer, fitting or screw is the quick fix. On a Shurflo 4008, water at the pump head or switch can also mean a damaged diaphragm, which needs a repair kit or a new pump.
- RV water pump leaking only on city water? A drip at the pump is an outlet-side leak to trace, while a fresh tank that fills on its own points to leak-back.
- Stop and call a technician if the housing is cracked, or if water reaches the motor or wiring.
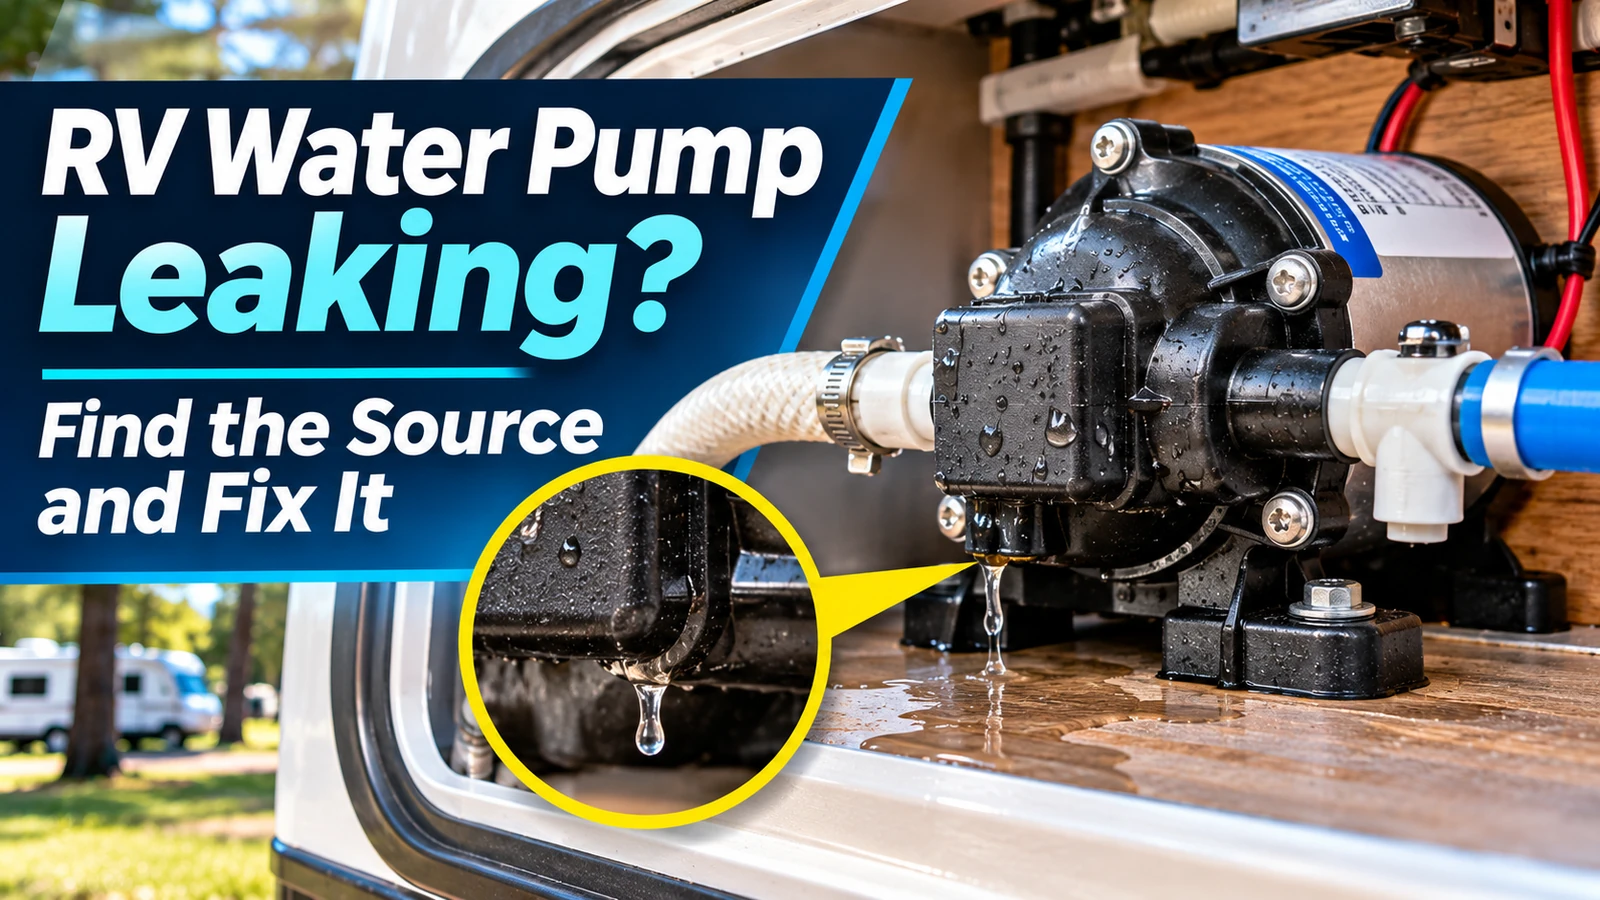
An RV water pump leaking under the sink or in the pump bay is easy to miss until the floor gets wet or the bay starts to smell musty. The fix can be as small as snugging a strainer cap, or it can mean a repair kit or a new pump. The hard part is finding the real source, because water drips down and shows up below where it started.
This guide gives you a safe way to find the leak, a table of what each wet spot can mean, and a clear call on fix, rebuild or replace. The pump-specific details come from the Shurflo 4008 installation and operation manual (911-1008 Rev. K). If you have a different pump, the same checks apply, but the causes, parts and settings depend on your own pump’s manual. If your pump won’t run, won’t prime or won’t shut off, start with our guide to an RV water pump not working instead.
How Do I Find Where My RV Water Pump Is Leaking?
The leak starts at the highest spot that gets wet first while the system is under pressure. Switch the pump off, close the water supply and open a faucet to release the pressure. Dry the pump and its fittings completely. Then switch the pump back on, close the faucet and watch which spot gets wet first. That first wet spot is your lead, not the puddle below it.
Safety
- Never loosen a fitting, cap or screw while the pump is running or the lines are under pressure, because water can spray out. Keep water away from the pump’s wiring and switch. These are basic precautions; your RV owner’s manual shows where your pump switch and water shutoffs are.
Have These Ready
- Dry towels or a shallow tray to go under the pump
- Paper towels for checking each joint
- Tape to mark the first wet spot
- A flashlight for the pump bay
- A screwdriver that fits the pump’s screws
- Your pump’s manual, or its model number so you can find the manual
- Switch the pump off and close the supply Turn off the pump switch and disconnect or shut off city water.
- Release the pressure Open a cold faucet until the flow stops, then close it again.
- Dry everything Wipe the pump, strainer, fittings and hoses completely dry. Put a dry towel or tray under the pump so you can see fresh drips.
- Pressurize on the pump With the wiring dry, switch the pump on and let it build pressure. Keep your hands off the fittings.
- Watch for the first wet spot Hold a dry paper towel near each joint without touching anything. Water runs downhill, so look for the highest wet spot, not the lowest drip. Mark it with a piece of tape.
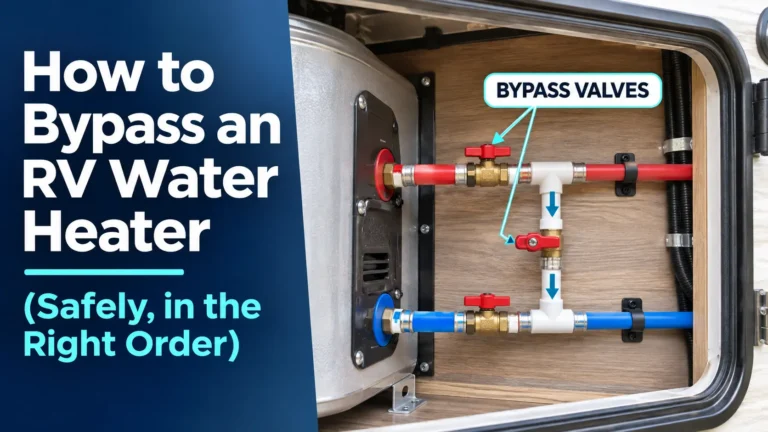
- Look beyond the pump While the system is still under pressure, look along the lines that lead into the pump area without touching them. A drip from a nearby fitting or the water heater can run down and look like a pump leak. If your RV has a winterizing bypass valve near the pump, check its fittings too.
- Repeat on city water Switch the pump off, release pressure, dry everything again and connect city water. A leak that appears only now is covered in the city water section below.
Start by checking for loose parts. Shurflo’s manual notes that vibration from driving can loosen plumbing, strainers and pump hardware, and its troubleshooting chart includes a check for mounting feet that are loose or compressed too tight. If the pump moves on its mount or the bracket is broken, secure it before you chase smaller drips. If the drip traces back to the water heater, that is a separate repair; our guide to draining an RV water heater is the place to start.
If the pump also keeps running with every faucet closed, Shurflo’s troubleshooting chart says to check the output (pressure) side plumbing for leaks and inspect for leaky valves or a leaky toilet. Our toilet supply line leak guide covers that check, our guide to replacing the RV toilet water valve covers a valve that won’t seal, and a pump won’t shut off problem has its own guide.
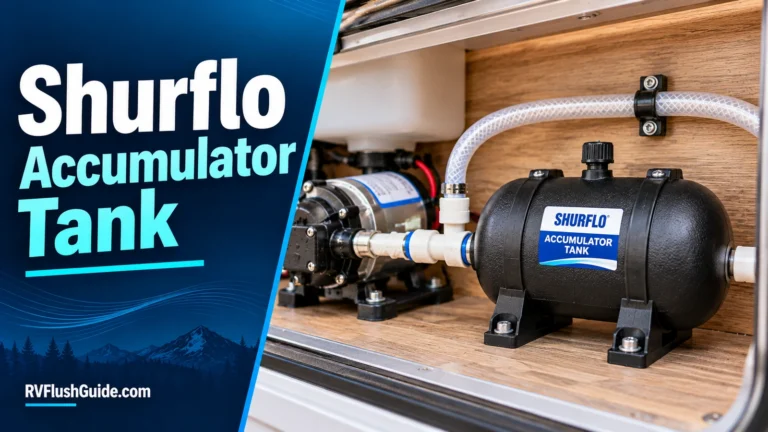
Do not try to mask an active leak by adding an accumulator. Once leaks are resolved, our Shurflo accumulator tank guide explains when a tank may reduce pulsation and which by-pass pumps do not need one.
Which RV Water Pump Do You Have?
Find the model number on your pump before you order parts, because kits, part numbers and settings are model-specific. Look for a label on the pump itself. This guide uses the Shurflo 4008 manual for its pump-specific details, and other pumps, including Seaflo pumps and other Shurflo models, use their own parts and instructions.
The leak-finding steps above work on any pump. For part numbers, rebuild instructions and pressure settings, go by your own pump’s manual or the maker’s support line. If you can’t find a label or a manual, contact the pump maker or your RV maker before you take the pump apart.
What Does Each Wet Spot Mean?
Use the table to match the first wet spot to a cause and a next step. Rows marked “Shurflo 4008” come from that pump’s manual; the rest are general checks. Other pumps may differ, so confirm with your own pump’s manual.
| Where the water shows up | What it can mean | Next step |
|---|---|---|
| Strainer or its cap | A loose cap, a dirty or damaged seal, or debris in the strainer (general check) | With pressure off, clean and reseat the strainer. Replace it if the cap or bowl is cracked. |
| Inlet or outlet fitting | A fitting loosened by road vibration, or threads damaged by over-tightening or sealer (Shurflo 4008) | With pressure off, hand-tighten. If the port threads or housing are cracked, stop and plan a repair or replacement. |
| Pump head or switch screws | Loose screws at the switch or pump head (Shurflo 4008) | With power off, check the screws and snug them gently. Dry and re-test. |
| Pressure switch | A ruptured or pinched switch diaphragm (Shurflo 4008) | Replace the switch. Shurflo lists a pressure switch kit for the 4008; other pumps need their own part. |
| Drive end or underside of the pump | A punctured pump diaphragm, when water is present in the drive assembly (Shurflo 4008). Water from higher up can also drip off the bottom. | Confirm the highest wet spot first. Water inside the drive end means a repair kit or a new pump. Stop if water reaches the motor or wiring. |
| Crack in the housing | Physical damage, for example from freezing or over-tightened fittings | Stop using the pump. Replace the damaged part or the pump. |
| Fittings near a pump that moves on its mount | Loose or over-compressed mounting feet, or a broken bracket, letting vibration work the fittings loose (Shurflo 4008 checks mounting feet) | With power and pressure off, secure the pump. Then re-check the fittings and re-test. |
| At the pump on city water, with the pump switched off | City water pressure reaching the pump’s outlet side, so a loose outlet fitting or a crack near the pump head drips even with the pump off (general check) | Turn off city water, release pressure, dry everything, then reconnect and trace the highest wet spot. |
| Fresh tank fills or pump cycles on city water | Leak-back: water passing back through the pump’s valves (Shurflo 4008) | See the city water section below. |
Why Is My RV Water Pump Leaking at the Strainer or Fittings?
Strainers and fittings are the first thing to check, because Shurflo says driving vibration can loosen plumbing, strainers and pump hardware. With the water off and the pressure released, make sure the strainer cap and fittings are snug, and look for cracks before you put everything back together.
What Shurflo’s 4008 manual says about the plumbing around the pump:
- The strainer is required. Shurflo says the pump must use an adequate 50-mesh strainer on the inlet, so clean it rather than removing it.
- The 1/2 inch male threaded models are meant for Shurflo swivel barb fittings, which seal with an internal taper when hand tightened.
- Don’t put sealer or Teflon tape on those threads. Shurflo warns that sealer and tape can act as a lubricant, leading to cracked housings or stripped threads from over-tightening. Sealer can also get inside the pump and stop it from priming or shutting off.
- Shurflo recommends at least 18 inches of 1/2 inch I.D. flexible high-pressure hose on both ports, and says rigid or plastic pipe should not connect to them.
- A failure caused by foreign debris is not covered under warranty, according to the manual. That is one more reason to keep the strainer clean.
After you reseat the strainer or a fitting, there may be air in the line. If water does not come back right away, prime the pump before you assume something else is wrong.
Why Is Water Leaking From the Pump Head, Bottom or Pressure Switch?
Check the pump head and switch screws first. If the leak continues, a damaged diaphragm or pressure switch needs a repair kit or a new pump. Shurflo’s 4008 troubleshooting chart lists three causes for leaks from the pump head or switch: loose screws at the switch or pump head, a ruptured or pinched switch diaphragm, or a punctured pump diaphragm when water is present in the drive assembly. Do the screw check with the power off.
Two terms help here. The diaphragm is the flexible rubber membrane inside the pump head that moves the water. The pressure switch is the part on the pump that turns it on and off as the water pressure changes. If either one is damaged, tightening screws won’t stop the leak.
Water that runs down from the head or switch can drip off the bottom of the pump and look like a drive-end leak, so confirm the highest wet spot before you order parts. Shurflo’s manual does not include rebuild steps. If you replace a switch or diaphragm, follow the instructions that come with the kit, or have a technician do it.
Why Does My RV Water Pump Leak on City Water?
On city water you are dealing with one of two problems: water dripping out at the pump, or water passing back through the pump into the fresh tank. They look similar but have different fixes.
Water Drips at the Pump While You’re on City Water
City water pressure reaches the outlet side of the pump even when the pump is switched off. A loose outlet fitting or a crack near the pump head can drip in that case, even though the pump never runs. Turn off city water, open a faucet to release the pressure and dry the outlet fittings and pump head. Then reconnect city water and look for the highest spot that gets wet first. Treat a crack the same way as any other cracked housing.
The Fresh Tank Fills or the Pump Cycles on City Water
This points to leak-back: water flowing backward through the pump rather than leaking out of it. Shurflo lists two signs: the pump cycling now and then with no faucet open, or the tank filling when hooked up to city water.
Shurflo ties this to sanitizing. Its manual says skipping sanitizing causes scale to build up on the diaphragm and valves, and calls lack of sanitizing the number one reason for premature pump failure. If you see leak-back:
- Check the simple things first. Make sure your RV’s tank-fill or city water fill valve is closed when you don’t mean to fill the tank. Your RV owner’s manual shows where it is.
- Follow your RV’s instructions to sanitize the fresh water tank and lines.
- If it continues, plan a kit or a replacement. Shurflo sells valve and check valve kits for the 4008 (part numbers below). For other pumps, ask the maker.
- Don’t add valves or other parts to a pressurized line on the strength of a forum tip. Ask the pump maker or a technician first.
Fix It, Rebuild It, or Replace the Pump?
Snug, dry and re-test first. Turn to a kit or a new pump only when the leak comes from the switch, the drive end or a cracked housing. Once you know the wet spot, use this table as a guide. Your pump’s manual and the kit instructions decide the details.
| What you found | Call |
|---|---|
| Loose strainer, fitting or screw, housing intact, pump otherwise works | Fix it yourself: tighten or reseat with pressure off, then dry and re-test. |
| Leak continues after the screws are snug, switch leaks, or water in the drive end | Repair kit or new pump. Follow the kit instructions or use a technician. |
| Cracked housing | Replace the damaged part or the pump. |
| Water near the motor or wiring, sparking, hot or melted wire, burning smell | Stop. Leave the pump off and call a qualified technician. |
Shurflo lists these repair kits for the 4008 only. Other pumps, including other Shurflo models, use different parts:
- Upper assembly: 94-800-00
- Valve assembly: 94-800-01
- Drive assembly: 94-800-02
- Check valve: 94-800-03
- Pump head: 94-800-04
- Pressure switch: 94-800-05
- Motor: 94-11-302-00
Leave the pressure and by-pass settings alone. Shurflo says by-pass adjustment should only be done by a professional technician with proper gauges and equipment. If you decide to replace the pump, drain the fresh water tank first so you don’t flood the bay, and see our guide to choosing a replacement RV water pump.
How Do I Work Safely Around Pressurized Water and 12V Power?
Switch the pump off and close the water supply before you touch any part, then open a faucet to release the pressure. Keep water away from the pump’s wiring and switch. Shurflo warns that undersized wire can create a fire hazard and says to shut off power to the pump when you leave the RV unattended.
Shurflo’s 4008 manual calls for 16 gauge wire at minimum and recommends 12 gauge. Longer wire runs need heavier wire, and the manual has a chart for that. The pump needs at least a 10 amp circuit, protected by the fuse or breaker shown on the pump’s label. Shut off power to the pump whenever you leave the RV.
A slow leak can soak the floor or carpet for a long time before you notice. If you find water damage around the pump bay, dry it out and check the wiring and connectors near the pump before you switch it back on.
Stop and get help
- Leave the pump off and call a qualified technician if the housing is cracked, water is inside the drive end or near the motor or wiring, you see sparking or hot or melted wire, you smell burning, or a fuse or breaker keeps tripping.
- Also stop if the leak continues after the strainer, fittings and screws are checked, if you can’t shut off the pump or the water, or if you have no manual for your exact pump. Contact the pump maker in those cases.
How Can I Prevent RV Water Pump Leaks?
Shurflo’s maintenance list for the 4008 is short:
- Check and clean the strainer.
- Sanitize and winterize normally. Shurflo calls lack of sanitizing the number one reason for premature pump failure, and recommends sanitizing before storage, after a period of storage, and any time the system is opened or contaminated.
- Check fittings now and then. The manual says to occasionally check all plumbing hardware and fittings for tightness.
- Protect it from freezing. Shurflo says frozen water can seriously damage the plumbing and pump, and that failures of this type void the warranty. Follow your RV owner’s manual for winterizing. If you also winterize the toilet, see our guide to winterizing an RV toilet with antifreeze. If the pump or lines do freeze, never thaw them with a torch, open flame or heat gun. That is general safety advice, not a Shurflo instruction; follow your RV maker’s guidance or call a technician.
After storage, a leak can show up the first time the system is under pressure again, so watch the pump bay closely when de-winterizing your RV.
Quick Recap
Three things to remember:
- Find the first wet spot with the pump off, the water off and the pressure released, then re-test with everything dry.
- Strainers, fittings and screws are the quick fixes. A leaking switch, water in the drive end or a cracked housing means a repair kit, a new pump or a technician.
- On city water, a drip at the pump is an outlet-side leak to trace. A filling fresh tank points to leak-back, which Shurflo links to skipped sanitizing.
Next step: dry the pump, re-test, and if it still leaks, check your exact pump’s manual or contact the maker. If the pump also refuses to shut off, see our guide to an RV water pump not working.
Frequently Asked Questions
Can I Use Teflon Tape or Thread Sealer on RV Water Pump Fittings?
Not on a Shurflo 4008 with 1/2 inch male threaded ports. Shurflo says sealer and tape can act as a lubricant and lead to cracked housings or stripped threads, and sealer can get inside the pump. Those fittings seal by hand tightening. For other pumps, check the manual.
Can Freezing Make an RV Water Pump Leak?
Yes. Shurflo says frozen water can seriously damage the plumbing and pump, and that this kind of failure voids the warranty. Check the pump for cracks before you use it after a freeze, and follow your RV owner’s manual for winterizing.
Why Does My RV Water Pump Turn On With No Faucet Open?
Shurflo lists occasional cycling with no faucet open as a sign of leak-back, linked to scale from skipped sanitizing. Its troubleshooting chart also says to check the output side plumbing for leaks and inspect for leaky valves or a leaky toilet.
Will the Warranty Cover a Leaking Pump?
Shurflo’s 4008 manual says freeze damage voids the warranty and failures caused by foreign debris are not covered. It does not list other terms, so contact the pump maker with your model number. Other brands have their own terms.
Can I Replace Just the Pump Head Instead of the Whole Pump?
On a Shurflo 4008, Shurflo lists a pump head kit (94-800-04) separately from the motor (94-11-302-00), plus smaller kits for the valve assembly, drive assembly, check valve and pressure switch. Follow the kit instructions or have a technician do it. Other pumps use their own parts, so check your pump’s manual.
Why Does My RV Water Pump Leak on City Water When It’s Switched Off?
City water pressure reaches the outlet side of the pump even when the pump is off, so a loose outlet fitting or a crack near the pump head can drip. Turn off city water, release the pressure, dry everything and trace the highest wet spot. If the fresh tank fills instead, that points to leak-back through the pump’s valves.