TL;DR
- A bypass closes the water heater off from your plumbing so cold water goes straight to the hot lines. Turn the heater’s electric and gas off first, shut off the pump and city water, and open a faucet to relieve pressure.
- Then find the valves behind the heater and set them to bypass using your RV’s labels or manual, because handle positions differ. Drain the tank if you’re winterizing.
Knowing how to bypass an RV water heater is the cheap way to keep antifreeze out of the tank. RV 101’s Mark Polk says a bypass saves the cost of six or more gallons of antifreeze. It’s also how you shut off a heater you can’t use right now, like one that’s leaking.
This guide covers the safe order of steps, the three common valve layouts, what to do when your RV has no bypass at all, and how to undo it. It also covers when to stop and call a technician. Draining has its own guide, linked in the steps below, so this page focuses on the valves.
The Suburban SW-D series manual and the Dometic XT manual don’t describe handle positions in words, and published guides disagree with each other. So instead of giving you an angle to copy, this guide shows you how to read your own valves.
How to Bypass an RV Water Heater, Step by Step
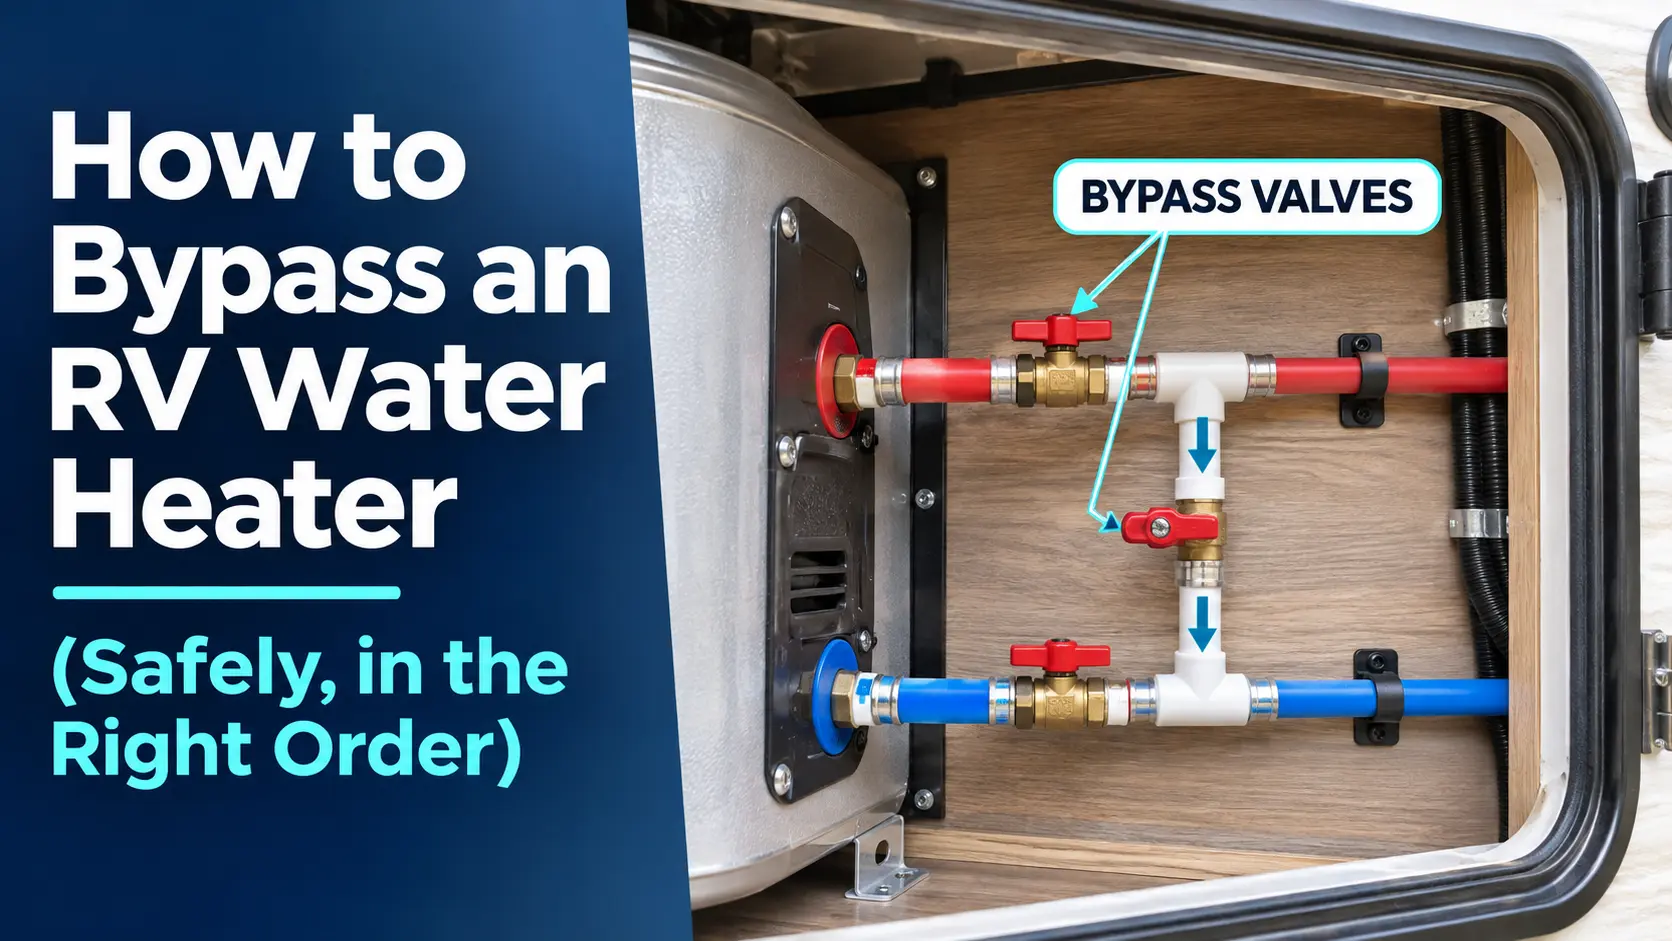
Turn the heater’s electric and gas off, shut off the pump and any city water, and open a faucet to relieve pressure. Find the valves behind the heater’s exterior door. Set them so the heater is closed off and the bypass line is open, following your valve labels or manual. Then run a hot tap to confirm.
Before step 1, get these done:
- Heater switch OFF at the inside switch panel.
- Electric element switch OFF. Electric models have 120V at the element, so this switch must be off before you work behind the heater. On Suburban SW-D models, the manual puts it in the lower left corner of the control housing, behind the exterior door.
- Gas off at the heater’s gas switch. If you’re storing the RV, close the LP supply valve too.
- Water pump off, and city water disconnected or shut off.
- Hot and cold faucets open to relieve pressure.
- Water in the tank cool, if you plan to drain it.
- Find the heater from outside Locate the exterior access door. The plumbing connections are on the back of the heater.
- Go inside to the spot behind it The valves are often reachable from a cabinet, bed base, or closet panel near the heater. That’s a likely place to look, not a rule, so check your RV manual if you can’t find them.
- Identify your valve type Count the valves and see the next section to match your layout.
- Set the valves The goal is simple: the heater’s cold inlet is closed (and the hot outlet too on 2- and 3-valve layouts), and the bypass line is open. Follow the labels or arrows on your valves or the RV or heater manual for the handle position. Conventions differ between valve designs, and guides disagree, so don’t copy a position from a video or forum.
- Confirm the bypass Turn the pump on and open a hot faucet. You should get cold water at the hot tap, because the heater is out of the loop. If you still get hot water, a valve may not be fully closed. Then turn the pump off again and leave a hot faucet open so the lines lose pressure before you drain.
- Drain the heater if you’re winterizing Follow our guide to drain the water heater. Don’t skip the draining step: a bypassed tank full of water can still freeze.
Safety
- Water from a hot tank can scald. Never drain a hot or pressurized tank. Let it cool and open a faucet first.
Stop and get help
- If you can’t tell which valve does what, stop and check your RV manual or ask a dealer or technician. If a valve leaks, won’t turn, or you’d need to cut plumbing or add fittings, stop and contact the RV maker or a qualified technician. Don’t force a valve, and don’t guess with the heater switched on.
How Do I Tell Which Bypass Type My RV Has?
Count the valves at the back of the heater. RV 101 describes three common layouts. One valve sits at the cold line and the bypass line. Two valves sit at the cold inlet and in the bypass line. Three sit at the cold inlet, the hot outlet, and in the bypass line. Some heater manuals, such as Dometic’s XT manual, show a ball valve in their drawings, and some RVs have no bypass.
| Layout | Where the valves are | What to do |
|---|---|---|
| 1-valve | At the cold line and bypass line (per RV 101) | Turn it to the bypass setting shown on its label |
| 2-valve | Cold inlet and bypass line (per RV 101); other guides place them at the cold inlet and hot outlet | Set both to bypass, following their labels |
| 3-valve | Cold inlet, hot outlet, bypass line (per RV 101) | Close inlet and outlet, open the bypass line |
| Dometic XT-style ball valve | Shown in the XT manual’s drawings | Match your handle to the drawing in your manual |
| No bypass | None | See the winterizing section below |
That 1-, 2-, and 3-valve breakdown is one educator’s description, not a universal rule. Other published guides describe the 2-valve layout differently: two three-way valves at the cold inlet and hot outlet, joined by a crossover hose. Treat both as a starting point and go by your own valves and RV manual.
The Dometic XT manual’s drawings show a ball valve with handle drawings labeled WINTERIZED and IN USE, but the text doesn’t explain them in words. Match your valve’s handle to the drawing in your own manual rather than guessing an angle.
RV 101 also notes that some bypass valves use knobs instead of handles. With a knob, you turn it until it’s fully open or fully closed.
Because published guides disagree on handle position, check the labels and any arrows on the valve bodies, then your manual.
Why Turn the Water Heater Off Before You Bypass It?
Because running the heater without water in the tank can damage it, and if you’re winterizing you’ll drain it right after bypassing. Suburban says operating without water may damage the tank and controls, and that damage isn’t covered by the warranty. The electric element can burn out even in brief operation without water. The Dometic XT manual also says not to operate the heater without water in the tank.
The order matters. Suburban’s shutoff steps are electric power off, then gas off, then drain. If a Suburban heater overheats or the gas won’t shut off, close the manual gas valve before the electrical supply.
Safety
- Suburban warns that hydrogen gas can form in the tank after two weeks or more of non-use, that it’s extremely flammable, and that it may still be present after draining. The Dometic XT manual warns that hydrogen may form in the water line after more than two weeks. You vent it when you undo the bypass, so see that section for the steps.
Scalding is the other hazard. Suburban warns that water above 125°F can scald. Dometic says to turn the heater off and let the water cool before pulling the drain plug.
These instructions come from the Suburban SW-D series manual (PN 205269) and the Dometic XT 6 and 10 gallon manual (MPD 93050 Rev B). For another model, check that heater’s own manual.
Do I Have to Bypass the Water Heater to Winterize?
Not necessarily, but a bypass keeps antifreeze out of the tank without extra steps. Suburban says if your plumbing has a bypass kit, close the heater off, drain it completely, and leave it bypassed, especially if you add antifreeze. Without a bypass, Suburban says to remove the anode rod and fit a 3/4 inch drain plug.
Suburban’s reasoning is that antifreeze can be very corrosive to the anode rod, causing early failure and heavy sediment.
The Dometic XT manual takes a different angle: winterizing means draining and flushing the tank. It doesn’t say whether to bypass. It does say the roughly two quarts left after draining won’t cause freeze damage, while a tank holding water above the drain level can crack in freezing. For other brands and models, check your manual.
If your RV has no bypass at all:
- Follow your heater manual’s no-bypass route if it has one.
- Have a bypass kit installed. A kit changes plumbing connections on a pressurized system, so use the maker’s instructions or a qualified technician.
- Ask the heater manufacturer or a technician which route fits your model.
Once the heater is handled, the rest of your plumbing still needs protection. See how to winterize an RV toilet with antifreeze for the toilet side. Use only RV-approved antifreeze, never automotive.
How Do I Undo the Bypass?
Reverse your valve settings so water can enter the heater, then fill the tank completely and purge the air before turning on gas or electric. Open both hot and cold faucets while filling. A tank that isn’t full can damage the heater’s controls.
RV 101 says to reverse the handle positions to disengage the bypass. Suburban says to refill and remove all air from the tank and lines before relighting or powering up, with both faucets open until water flows steadily, then closed. If you removed the anode rod or fit a drain plug, put the anode rod back first.
Safety
- If the heater sat unused for two weeks or more, hydrogen gas may have built up in the tank. After setting the valves back to normal, open the kitchen hot faucet for several minutes before using electrical appliances, as both manuals direct. No smoking or open flame near the open faucet.
Once the tank is full, restore gas and electric. A few brand-specific notes if the heater won’t fire:
- Suburban: ignition lockout resets by switching OFF for five seconds, then ON.
- Dometic XT: the lockout resets by switching off for 30 seconds, then on.
Stop and get help
- If the heater still won’t light after the manual’s reset steps, or you smell gas, see soot, or see a yellow burner flame, stop and contact a qualified technician or the manufacturer. For a gas smell, follow the steps in the leaking section below.
For more, see our reset button guide. The full spring sequence lives in our guide to de-winterize your RV, and you’ll likely need to prime the water pump along the way.
What Do Symptoms Mean If the Hot Water Is Wrong After Bypassing?
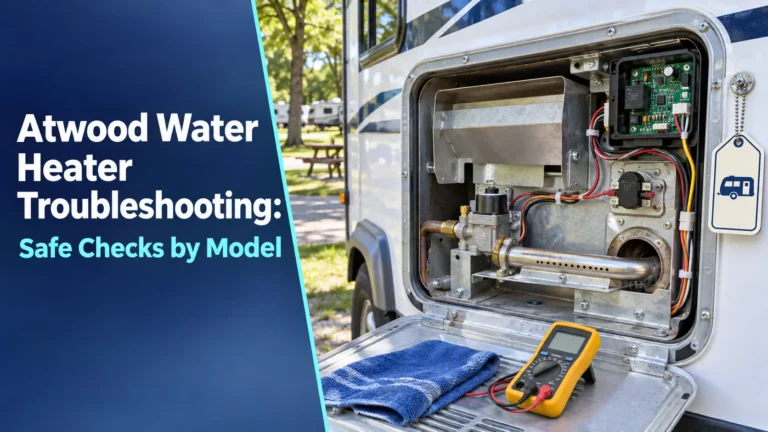
Start with the valves. RV 101 says no hot water, or hot water that turns lukewarm and then cold quickly, can mean the bypass valves are still in the wrong position. Check them before looking at the heater itself. Heater problems like a tripped reset or no gas can look the same. For Atwood models, see our Atwood water heater troubleshooting guide.
| Symptom | Possible cause | What to check |
|---|---|---|
| No hot water | Bypass still set (per RV 101), or heater off or tripped | Valve positions, then the heater switch and reset |
| Hot water runs out fast | Valves not fully in the normal-use position (per RV 101) | Each valve fully open or closed |
| Water or antifreeze still reaches the tank while bypassed | A valve is not fully closed, or a valve is leaking internally | Each handle against its label; if it’s set right, have the RV maker or a technician check the valves |
| Heater leaking | Real leak, or normal relief-valve drip | See the next section |
What If My Water Heater Is Leaking and I Just Want Cold Water?
Closing the heater off should let the rest of your system keep working while it’s out of service. But first make sure it’s actually a leak.
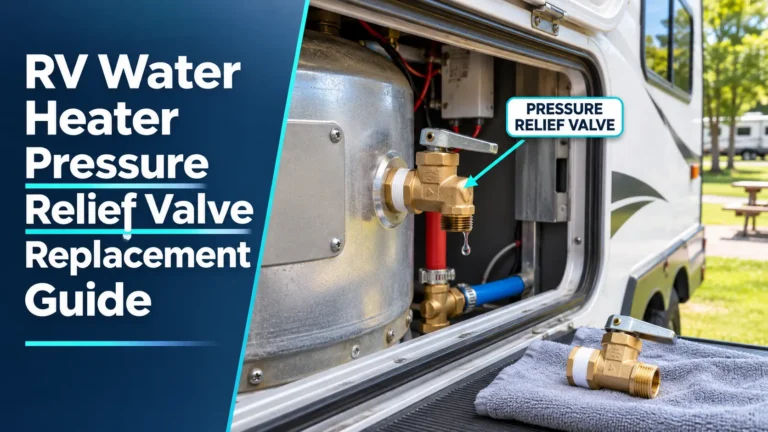
Both manuals say dripping from the temperature and pressure relief valve (T&P valve) is often normal expansion in a closed RV system. Suburban’s valve opens at 210°F or 150 psi. Dometic says dripping doesn’t by itself mean the valve is defective. Don’t plug or remove the T&P valve, and don’t put a valve between it and the tank. A drip there isn’t a reason to bypass. Water showing up anywhere else on the heater or its connections is a real leak. If the relief valve itself may be faulty, see our RV water heater pressure relief valve replacement guide for when professional replacement is needed.
While the heater is isolated, keep its gas and electric off and never run it empty.
Safety
- If you smell gas, follow the manual: leave the vehicle, shut off gas at the source, don’t touch switches, and call a gas supplier or technician from outside.
Stop and get help
- Call a qualified technician for any gas smell, soot, a yellow burner flame, a heater that was under water, a leak you can’t trace, a T&P valve that discharges constantly, or any repair that needs the tank, element, or valves removed. Both manuals put those repairs with a qualified technician or service center. Don’t try to plug a leak or loosen fittings while the pump is running.
Quick Bypass Checklist
- Turn the heater’s electric and gas off before you isolate it.
- Match your valves to their labels or manual, because handle positions differ.
- If you have no bypass, check your heater’s manual. Suburban says to pull the anode rod and fit a 3/4 inch plug before using antifreeze.
In spring, refill and purge the tank before you power the heater, so it never runs dry. Next step: if you’re winterizing, drain the water heater once the bypass is set.
Frequently Asked Questions
Can I use hot water while the heater is bypassed?
You can run the hot tap, but you’ll only get cold water, since the heater is closed off. RV 101 describes a bypass as routing cold water to the hot line. Don’t power the heater while it’s isolated and empty, since Suburban warns that’s what damages the element and tank.
Is a dripping pressure relief valve a sign the bypass failed?
No. Both manuals describe dripping from expansion as normal, and a bypass doesn’t change that. If the T&P valve keeps discharging heavily, follow your heater’s manual and contact the manufacturer or a technician rather than adjusting it yourself.
Does the water left in a Dometic XT tank after draining cause freeze damage?
For the XT 6 and 10 gallon models, Dometic’s manual says no: the roughly two quarts left after draining won’t cause freeze damage, but a tank holding water above the drain level can crack in freezing weather. Other heaters’ manuals may say something different.