TL;DR
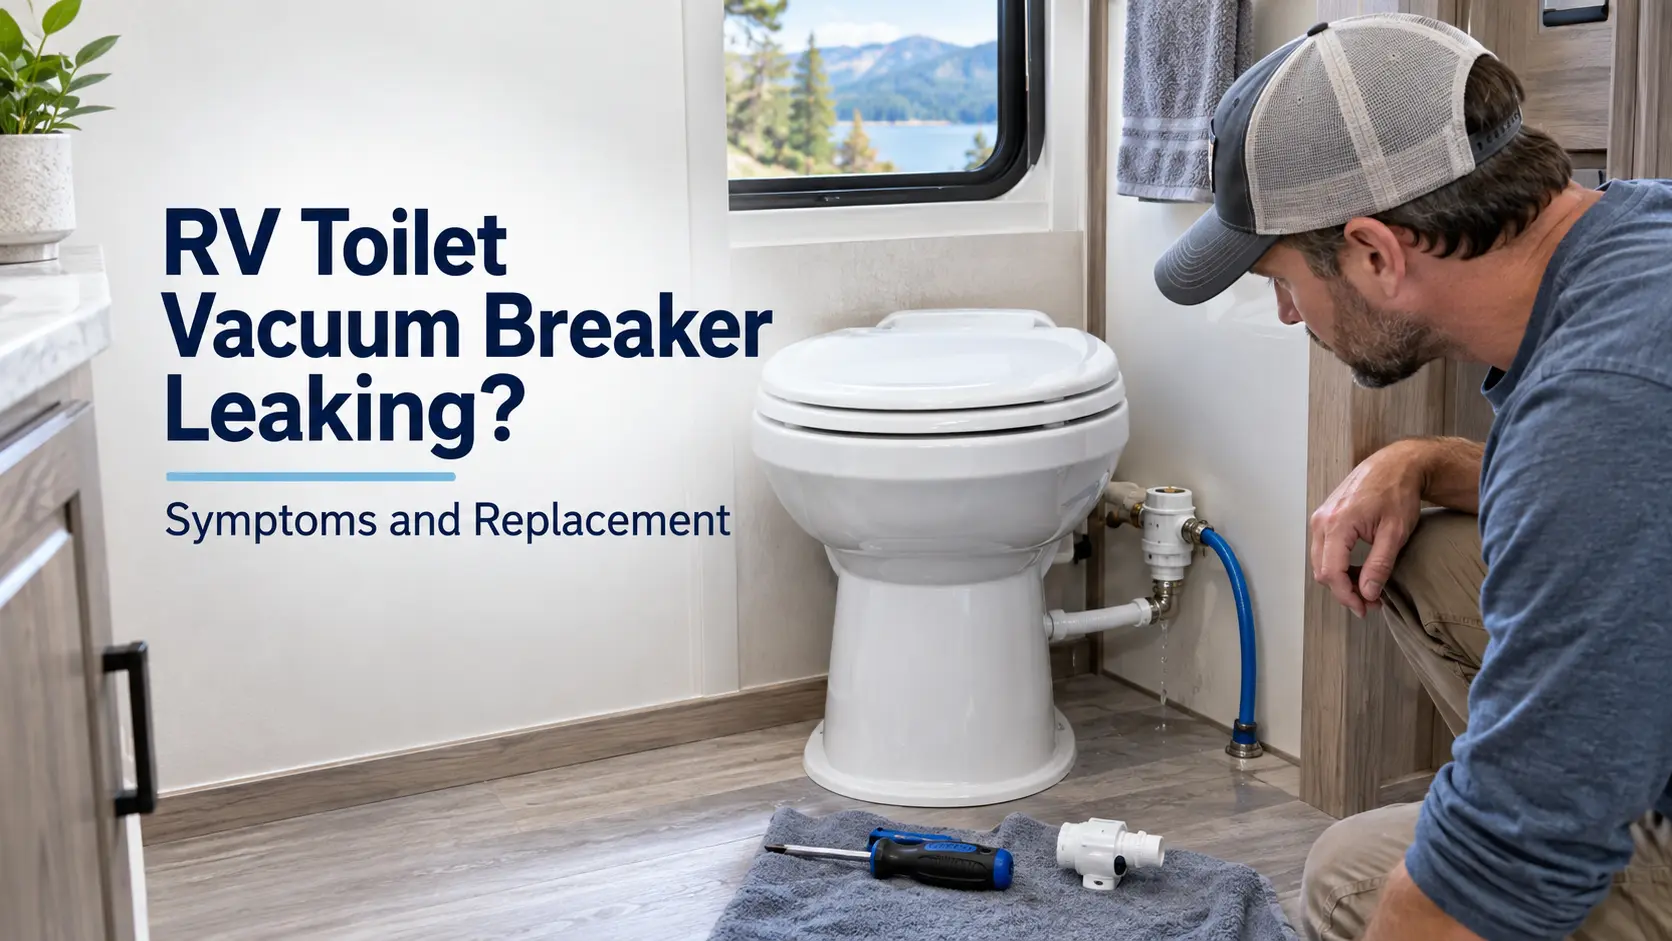
- An RV toilet vacuum breaker can leak clean water from the upper rear of the toilet during flushing.
- Check the supply hose, its connection, and the water valve before buying a replacement part.
- Thetford Style Lite, Style II, Residence, and Style Plus toilets use kit #34122, which requires removing the toilet.
- Dometic 300, 310, and 320 owners should confirm the exact model number and hand-sprayer configuration before ordering.
Water showing up behind an RV toilet during a flush usually gets blamed on the floor seal first, but the source is often higher up. If clean water is coming from the upper rear of the toilet only while flushing, the RV toilet vacuum breaker is a common suspect, along with a loose supply hose or a failing water valve. This guide covers what the vacuum breaker does, how to narrow down the cause, which kit fits your toilet, and what the repair costs.
What Does an RV Toilet Vacuum Breaker Do?
The vacuum breaker sits in the flush water path between the water valve and the bowl. It stops toilet water from being pulled backward into the fresh water supply if line pressure drops suddenly.
Dometic’s own manual for the 300, 310, and 320 series lists the vacuum breaker as a named serviceable part, made of ABS and polypropylene. Thetford’s official kit instructions for #34122 describe the vacuum breaker as a subassembly connected between the inlet tube and the flush hose on the Style Lite, Style II, Residence, and Style Plus models. Thetford’s Aqua-Magic Style II support page also answers a direct question on this: what causes a leak behind the toilet is, in Thetford’s own words, most likely a bad vacuum breaker that needs replacing.
When the internal seal or housing cracks, water escapes at that connection point instead of staying inside the flush path. That is why the leak shows up at the back of the toilet rather than inside the bowl.
Is the Leak From the Vacuum Breaker, Water Valve, or Hose?
The vacuum breaker, water valve, and supply or flush hose are three common supply-side sources for a leak at the back of an RV toilet. Less common causes include a damaged fitting, a flush-path component behind the bowl, or a cracked bowl itself, depending on the toilet model.
Leak timing is a useful diagnostic clue, though not definitive proof on its own.
| Component | When It Typically Leaks | Where Water Usually Appears |
|---|---|---|
| Vacuum breaker | Often during or right after flushing | Upper rear of the toilet, running down the back |
| Water valve | Can leak anytime the system is pressurized, whether flushing or idle | Behind the toilet, sometimes into the bowl |
| Supply hose or fitting | Anytime the system is pressurized | At the connection point, sometimes running down toward the base |
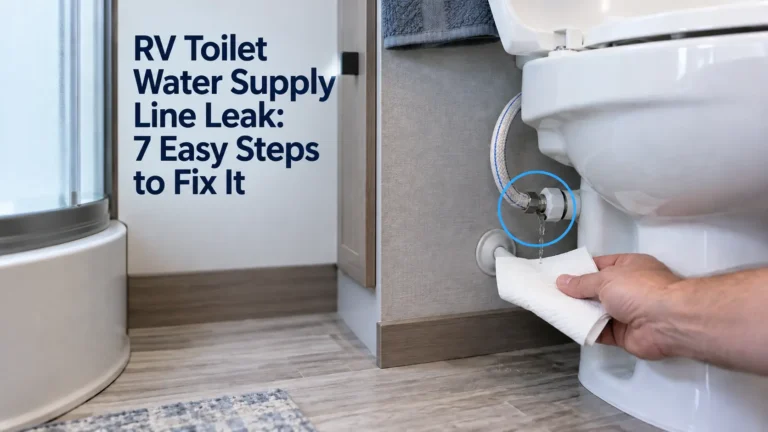
For the full paper towel test and a walkthrough of every likely source, see the RV toilet water supply line leak guide, the Thetford base leak diagnosis, or the Dometic base leak guide, depending on your toilet brand. If the water valve turns out to be the actual problem, the RV toilet water valve replacement guide covers that repair separately.
Which Replacement Kit Fits Your Toilet?
Do not order a part because it looks similar to the one in your toilet. Confirm these details first.
Model number. Find the exact model printed on the toilet’s data label, not just the brand name.
Thetford. The label is a 5-digit code starting with 31, 34, or 42, printed under the seat lid, on the back of the base, or inside the cabinet below the toilet. If the label is worn off, Thetford’s support page notes their team can often identify the model from a photo.
Dometic. According to Dometic’s 300/310/320 series manual, the model identification label sits on the toilet base under the water valve. Have that number, along with the PNC or SKU printed near it, ready before ordering or calling for support.
Hand sprayer. Check whether your toilet has a hand sprayer attachment. Dometic sells separate vacuum breaker kits for toilets with and without one, and using the wrong kit means the hose or fitting will not seat correctly.
Parts diagram or manual. When in doubt, pull up the manufacturer’s parts diagram or owner’s manual for your exact model rather than guessing from a product photo.
OEM versus third party. An OEM kit from the manufacturer or an authorized retailer is built to the original fit tolerances. Third-party kits cross-referenced to the same part number are usually cheaper, but they have not necessarily been tested against those tolerances, so check reviews and return policies before relying on one.
RV Toilet Vacuum Breaker Replacement: Thetford #34122
Thetford’s official instructions for kit #34122 cover the Aqua-Magic Style Lite, Style II, Residence, and Style Plus models. The kit includes a vacuum breaker subassembly, four clamps, a flush hose, a closet flange seal, tape vac, and an instruction sheet. You will also need a towel, a plastic trash bag, pliers, and a 1/2 inch wrench.
Before You Start
- Turn off the RV water supply.
- Flush once to relieve pressure in the water line.
- Empty and rinse the holding tank before removing the toilet, so you are not working over a full tank.
- Clean the toilet and the surrounding floor.
- Wear disposable gloves, safety glasses, long sleeves, and a face or nose mask to reduce the risk of contact with waste.
- After removing the toilet, cover the holding-tank opening with a secure, snug-fitting cover. Do not use a loose rag or towel that could fall into the tank.
The official procedure requires removing the toilet from the floor. It is not a repair you can finish by reaching behind the toilet while it stays bolted down. In summary:
- Shut off and drain Turn off the RV water supply and flush the toilet to drain the bowl and relieve pressure.
- Remove the Style Plus shroud On Style Plus models, unhook the O-rings and remove the shroud.
- Disconnect the water supply Place a towel behind the toilet to catch residual water, then disconnect the water supply line.
- Lift the toilet from the floor Remove the floor-flange bolt covers and nuts. Lift the toilet off the floor and place it on a plastic trash bag. Securely cover the holding-tank opening.
- Remove the old flange seal Remove the old closet-flange seal and discard it. Do not reinstall the used seal.
- Remove the old vacuum breaker On Style Lite models, remove the pod and its O-ring to reach the vacuum breaker. On all covered models, use pliers to slide the hose clamps back, then separate the vacuum breaker from the inlet tube and flush hose.
- Install the new vacuum breaker Connect the new vacuum breaker to the flush hose and inlet tube. Secure both connections with the new clamps supplied in the kit.
- Reinstall the toilet Install the new closet-flange seal with the lip facing down. Lower the toilet onto the floor flange and tighten the mounting nuts until the toilet no longer rocks. Do not overtighten the mounting nuts.
- Reconnect and test Reconnect the water supply and turn the water back on. Flush several times while checking every connection for leaks.
The kit includes a new closet flange seal because the procedure disturbs that seal anyway. Budget more time for this job than a quick behind-the-toilet swap, since the toilet has to come off the floor.
What About Dometic 300, 310, and 320 Toilets?
Dometic’s manual for the 300, 310, and 320 series confirms the vacuum breaker as a serviceable part and lists a Vacuum Breaker Kit among the maintenance kits available for these toilets. The manual does not print a specific kit part number in that list. It directs owners to contact a Dometic service partner or dealer, with the exact model number from the label, to order the correct kit. Dometic’s own 300 series product page is a good place to confirm your exact SKU before calling.
The same manual’s troubleshooting section for water leaking from the rear of the toilet lists two vacuum breaker causes. One is a loose vacuum breaker, where the stem needs to be pushed fully into the sealing grommet at the back of the bowl on 310 and 320 models, or reseated at the rim jet on the 300 model. The other is a damaged or defective vacuum breaker that needs replacing, following the instructions included with the new part.
The manual confirms the flush ball seal and water valve can both be replaced without removing the toilet from the floor. It does not make that same claim for the vacuum breaker, so follow whatever instructions ship with your specific kit rather than assuming either way.
Third-party compatibility listings split Dometic vacuum breaker kits by hand sprayer configuration rather than by one universal part number, and the same service part can sometimes apply across more than one Dometic toilet family. Confirm the exact kit against your toilet’s PNC before ordering, since a kit that fits one configuration will not necessarily fit another.
Replacement Cost and When to Call a Technician
Exact pricing depends on the brand, whether you buy OEM or a third-party equivalent, and where you shop.
Thetford #34122. Camping World lists the OEM kit at $26.99, with the same contents as the official instructions: vacuum assembly, four clamps, flush hose, closet seal, and instructions. Third-party kits cross-referenced to the same part number show up on marketplaces like eBay for less, one current listing runs around $15, though that reflects one seller’s price at one point in time, not a general market rate.
Dometic. eTrailer’s listing for the hand sprayer version runs from about $54 to $72 depending on sale pricing. The no-hand-sprayer version runs somewhat lower on the same site. Treat these as a general range for the toilet family rather than a confirmed price for your exact model, since fitment still needs to match your PNC.
Labor. A reliable current labor rate specific to this repair was not found for this article. Shop rates vary by region and by whether the toilet needs to come off the floor, so get a quote from a local RV service center rather than relying on a national average.
Materials beyond the kit itself are minor. Neither the Thetford kit instructions nor the Dometic manual call for thread sealant on this repair, since the vacuum breaker connects with hose clamps rather than threaded fittings, so there is no need to add Teflon tape to the job.
Prices checked September 2026; prices may change.
Call a technician instead of doing this yourself if you cannot identify your exact toilet model, if the subfloor around the toilet shows softness or discoloration, or if a water line is visibly cracked rather than just the vacuum breaker.
How to Prevent Freeze Damage
Dometic’s winterization instructions for the 300, 310, and 320 series include draining water completely from the water valve and vacuum breaker as part of the drain method, since trapped water in either part can freeze and crack the plastic housing. For the complete winterization process, including the antifreeze method, see the RV toilet winterization guide. For general repair steps beyond the vacuum breaker, the complete RV toilet repair guide covers the rest of the toilet.
Bottom Line
A flush-only leak at the upper rear of an RV toilet points toward the vacuum breaker, but check it against the water valve and supply hose before buying a part. Thetford Style Lite, Style II, Residence, and Style Plus toilets use kit #34122, which requires pulling the toilet and comes with a new floor flange seal. Dometic 300, 310, and 320 owners need their exact model number, PNC, and hand sprayer configuration before contacting a dealer or ordering a kit.
Frequently Asked Questions
Can I use a universal RV toilet vacuum breaker?
Not with confidence. Confirm the exact Thetford part number or Dometic PNC for your specific toilet before buying, even if a listing is marketed as universal. Fitment differs enough between models, and between hand sprayer and no-hand-sprayer configurations on Dometic toilets, that a mismatched part often will not seat correctly.
Why does the new vacuum breaker still leak?
Check that every hose clamp is fully seated and tightened, and that the pod and O-ring are reinstalled correctly on Style Lite models. On Dometic toilets, confirm the vacuum breaker stem is pushed fully into the sealing grommet. If the leak continues after that, dry everything and retest, since the actual source could be the supply hose or the water valve rather than the vacuum breaker itself.
Is the toilet vacuum breaker the same as the black-tank flush vacuum breaker?
No. A toilet vacuum breaker is part of the toilet’s flush water path. A black-tank flush vacuum breaker or backflow preventer is installed in the dedicated tank-rinse line, often under a sink, inside a cabinet, or behind a wall between the exterior flush inlet and the tank sprayer. The two components serve different systems and are not interchangeable.