You went looking for the repair kit. You watched the video. You ordered the part, did the whole thing with your head in the cabinet, and reassembled it.
And then it leaked again.
So you pulled it apart a second time, found a cracked plastic return spring housing you’d missed, and quietly went to Amazon and ordered a whole new Thetford RV toilet replacement.
Installed it in 15 minutes.
This is one of the most common DIY jobs RV owners handle themselves, even on older rigs. It’s not about skill. It’s about knowing when a toilet is worth repairing versus when it’s cheaper, faster, and cleaner to just swap the whole unit. This guide tells you how to make that call, then walks you through the replacement from start to finish.
When Should You Replace a Thetford RV Toilet Instead of Repairing It?
Replace your Thetford RV toilet when the base or bowl is cracked, when multiple components fail at the same time, when replacement parts no longer exist for your model, or when you’ve already repaired the same toilet twice in two years. A single failed part is worth fixing. Anything beyond that usually isn’t.
Here are the 4 conditions that tip the math toward replacement:
The base or bowl has a visible crack
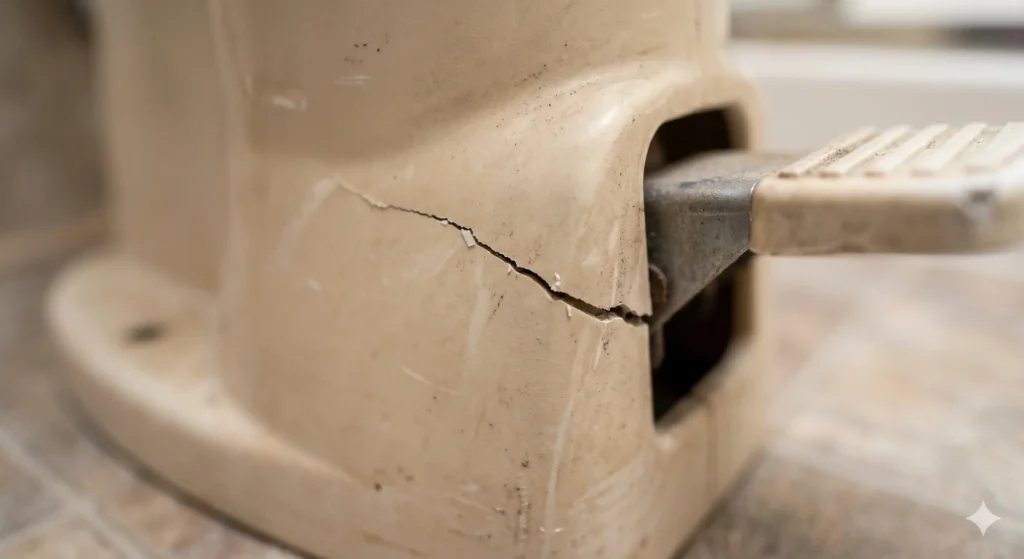
Thetford’s plastic base components aren’t serviceable once they’re structurally compromised. A cracked pedal casting, a split housing, a broken spring retainer. These aren’t “parts you can order.” They mean the base is done.
Multiple parts are failing at the same time
If your water valve is dripping, your waste ball isn’t sealing, and your pedal feels soft, you’re not dealing with one problem. You’re dealing with a toilet reaching the end of its useful life all at once. A replacement base kit runs roughly $90 to $120. Individual parts ordered one at a time will cost you more and take longer, with your hands in unpleasant places each time.
You can’t source the part for your specific model
Older Thetford models (anything from the mid-2000s or earlier) sometimes have discontinued part numbers. If you’ve been searching for a week and Thetford support can’t cross-reference your model, a full replacement is your fastest path forward.
The same repair has failed twice
The drive arm-to-waste ball connection on many Thetford models is made of thin plastic. Thetford confirmed there’s no upgraded version of this component. If you’ve already replaced it once and you’re facing the same failure again, the material isn’t going to hold up differently the third time.
One more thing: if your toilet is causing odor problems that don’t clear up after you address the obvious seals, the base itself might be the source. Black tank gases tracking through micro-cracks in aging plastic is a real problem, and no seal kit fixes that. Our guide on why your RV toilet smells after dumping explains how to tell the difference before you pull out any tools.
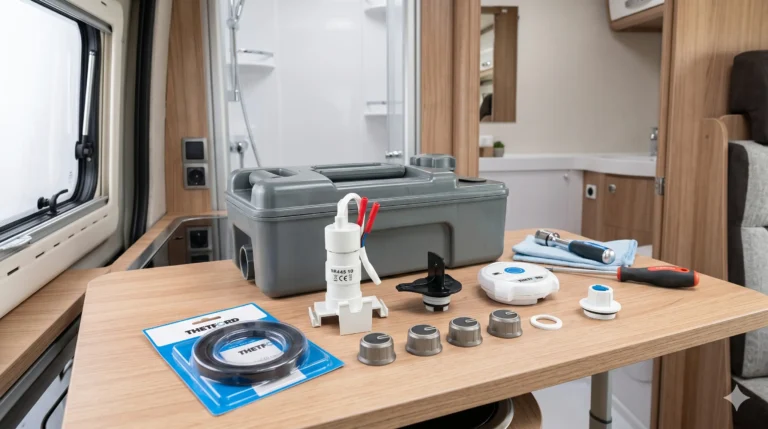
What You Need Before You Start
Time Estimate
20 to 40 minutes for a straightforward same-flange swap. Add another 30 minutes if your water inlet is in a different position on the new toilet.
Cost Estimate
A new Thetford toilet runs $140 to $220. Add $10 to $15 for a floor seal and $15 to $25 for a flexible braided water supply line if needed.
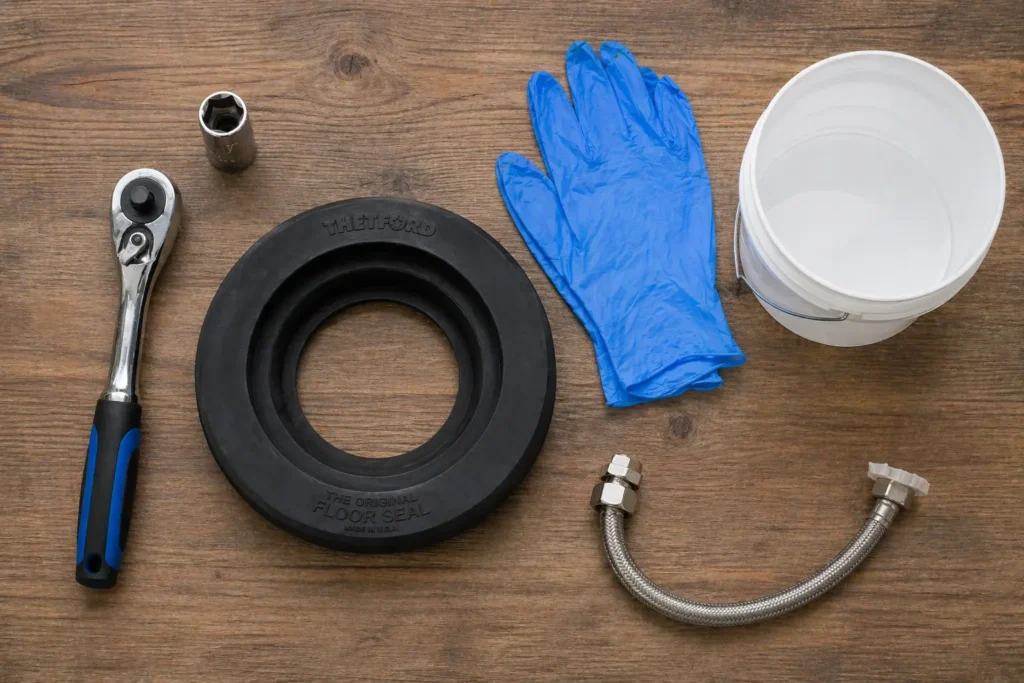
Tools You’ll Need
- 1/2-inch socket wrench or 12-point ratcheting box wrench
- Adjustable wrench or pliers
- Old towels and a small bucket
- A rag or plastic bag to plug the open flange
- Rubber gloves
What to Buy Before the Swap
- Your replacement toilet
- New floor seal / closet flange seal
- New hold-down bolts and caps if yours are corroded
- A flexible braided water supply line with a built-in shutoff valve
High Profile vs. Low Profile: Which One Do You Need?
This is the one detail that catches people off guard at the checkout page.
High-profile toilets sit taller off the floor, usually 18 to 20 inches to the seat. They’re comfortable for most adults and work well in standard RV bathrooms with a flat floor around the toilet.
Low-profile toilets sit closer to the floor, typically 15 to 17 inches to the seat. You need these when your toilet sits on a raised platform, when there’s a cabinet or overhead obstruction above the seat, or when your RV bathroom has limited ceiling height in that corner.
Measure from your floor to the underside of any obstruction above the toilet before ordering. Getting a high-profile toilet into a low-profile space means returning it, which is not how you want to spend a Saturday at the campsite.
Note: Thetford discontinued the low-profile Bravura in 2025. If you need a low-profile replacement, check the Aqua-Magic VI or the current Aqua-Magic V lineup instead.
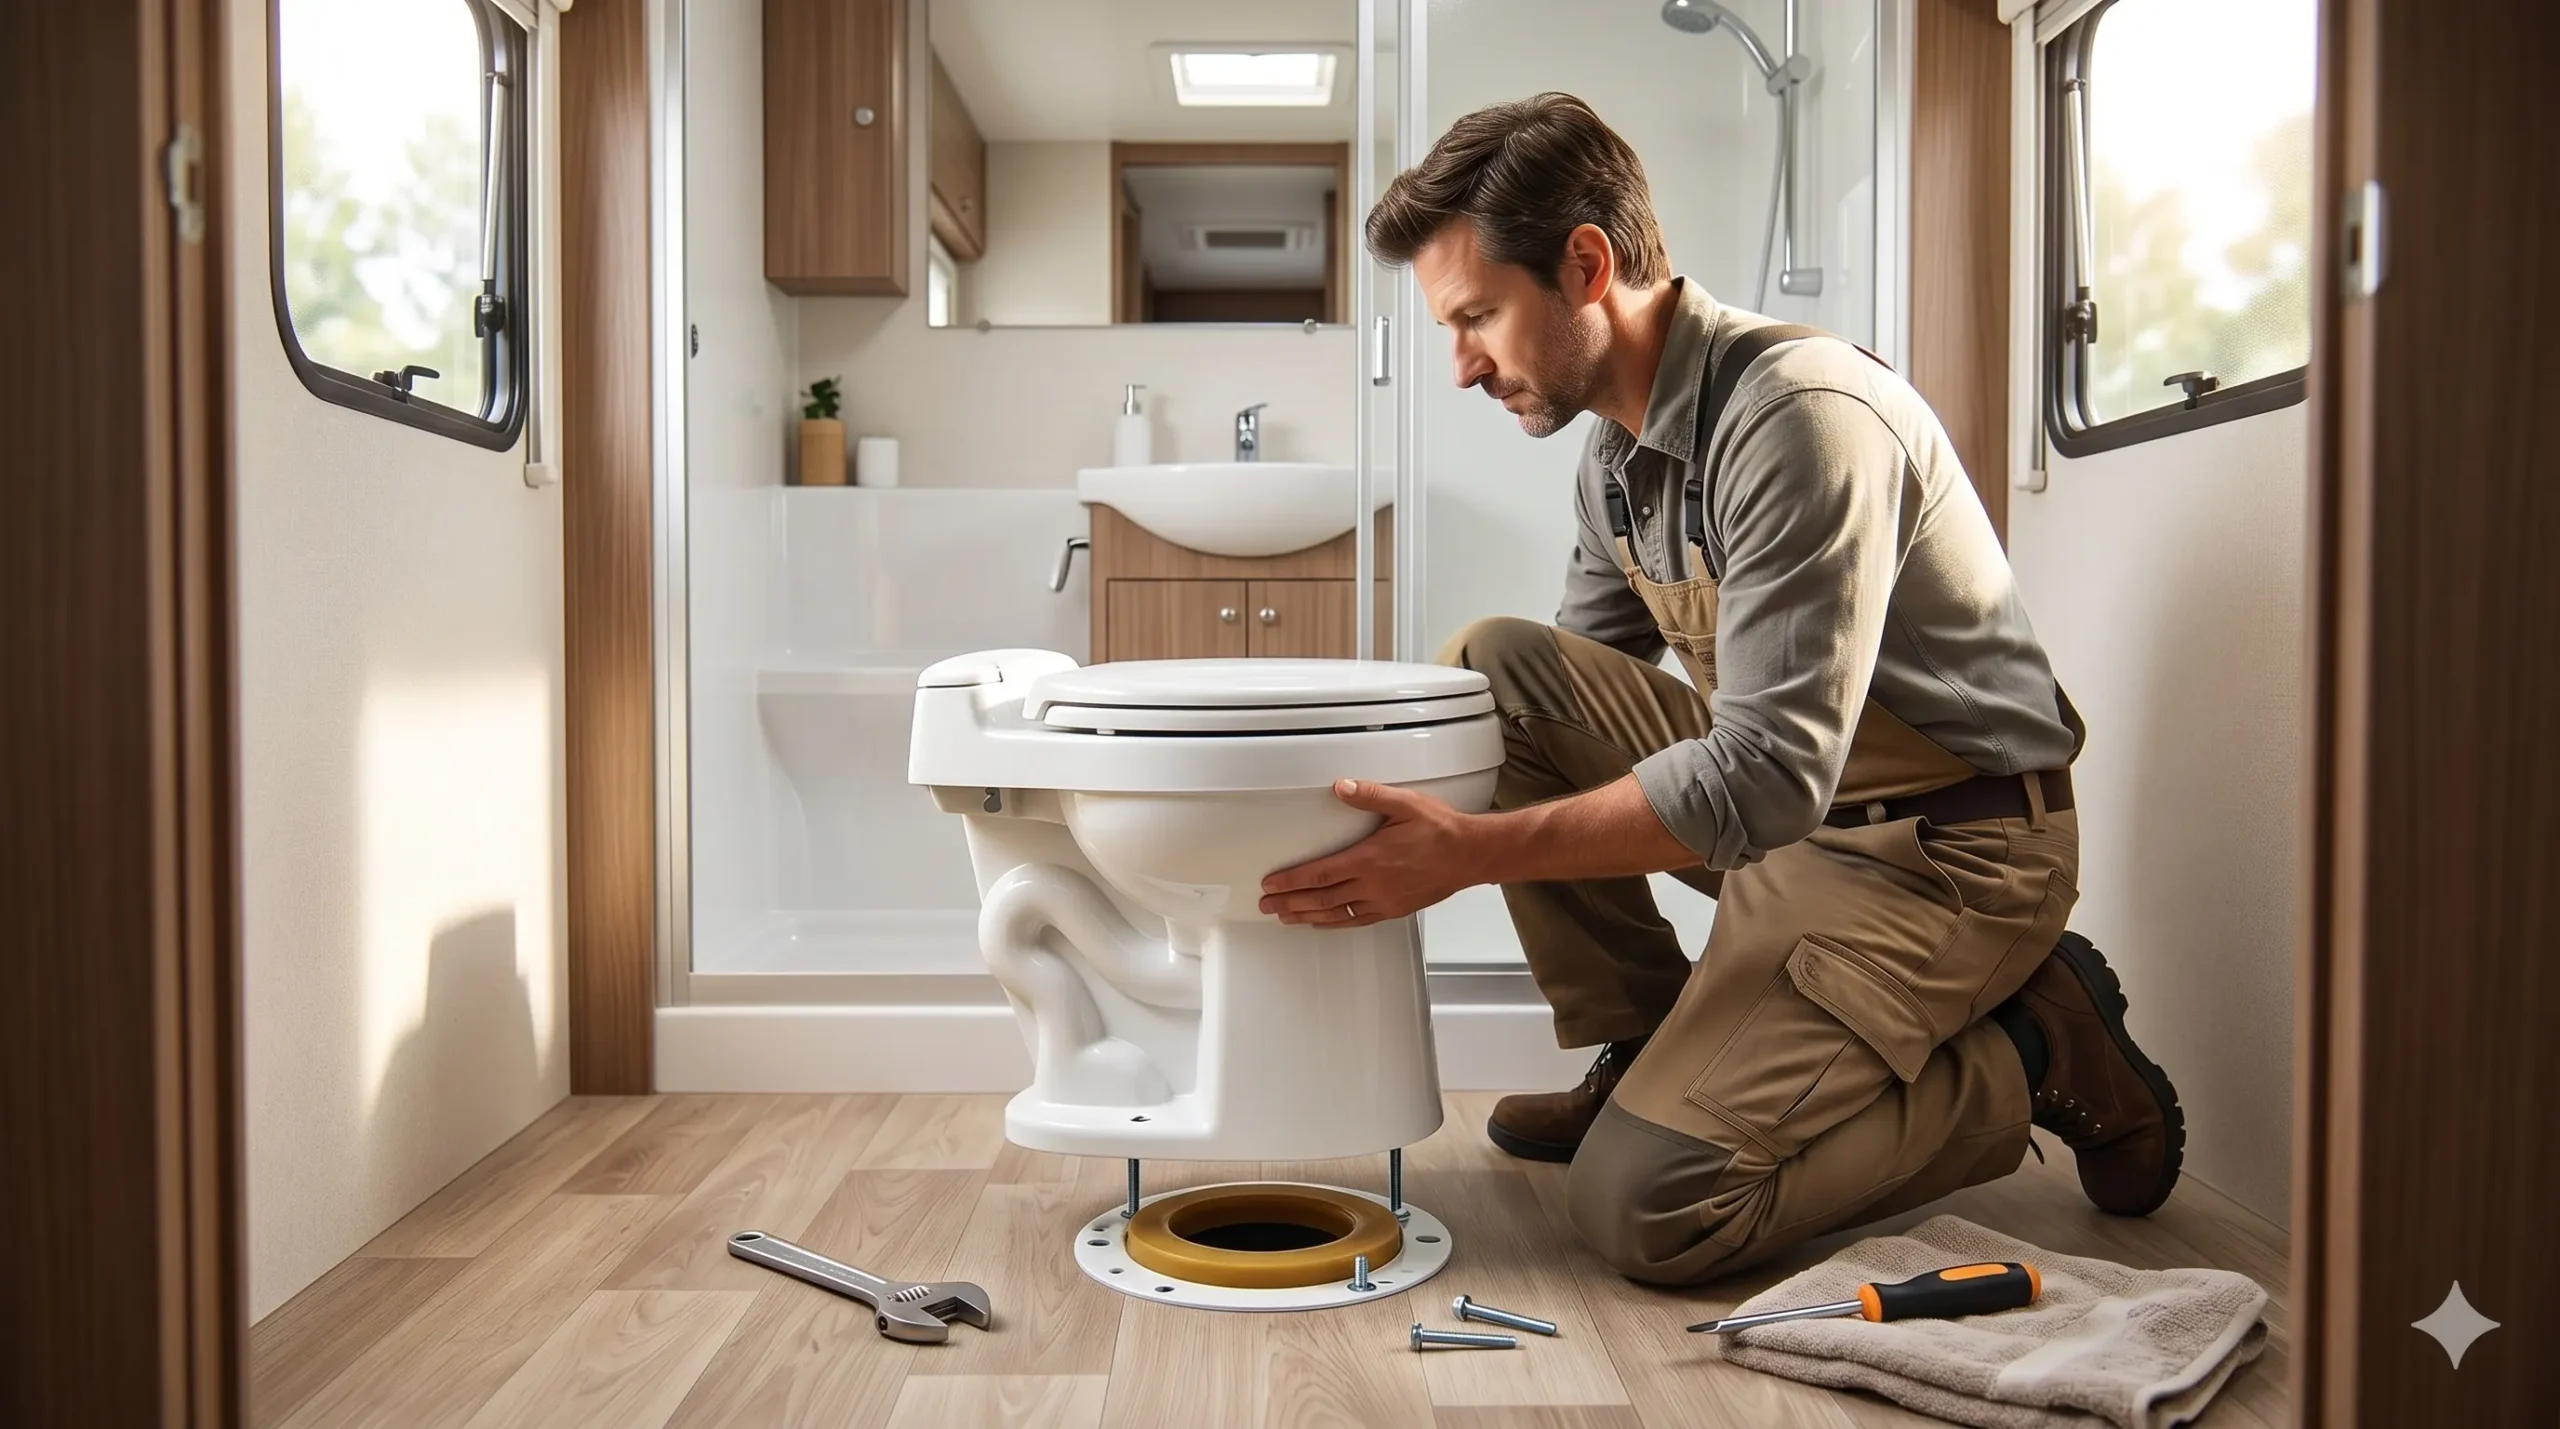
How to Remove a Thetford RV Toilet
⚠️ This is where most RVers get stuck the first time: They find the two bolts on the base cap, remove them, and then try to lift the toilet and find it won’t budge. The vacuum breaker hose is still connected. It’s small, it’s behind the toilet, and it doesn’t look load-bearing until you’re pulling on a toilet that isn’t going anywhere.
How to Install Your Replacement Thetford Toilet
⚠️ This is where most RVers make a beginner mistake: They don’t test long enough. The toilet looks fine on the first flush. They put the access cover back on. Three days later there’s water under the base. Always test with five flushes, wait 30 minutes, and look again.
What to Do When the Bolt Holes Don’t Line Up
If the hold-down bolts on your existing floor flange don’t match the bolt holes on your new toilet, the fastest fix is the Thetford Toilet Riser. It has multiple flange hole positions, adds 2.5 inches of seat height, and costs around $30. Most RVers can install a Thetford RV toilet on a mismatched flange in under an hour using this solution.
This is specifically a problem with older Thetford models. Toilets manufactured before the late 1990s sometimes have the flange bolts at the 11 o’clock and 5 o’clock positions. Newer RV toilets, including all current Thetford and Dometic models, use the 9 o’clock and 3 o’clock standard. These don’t line up, and trying to force the toilet into position will crack the base.
Your options, in order of effort:
- Thetford Toilet Riser. Installs between the flange and the toilet. Bridges the bolt position gap using the additional holes to match the new toilet’s footprint.
- Rotate the existing flange. If your flange isn’t glued in place (many are just screwed down or pressed into a rubber gasket), you can sometimes rotate it to the 9/3 position.
- Cut new slots in the flange. A Dremel or oscillating tool can cut two new slots in your existing flange without removing it. More work, but a permanent fix.
If the flange is cracked or glued into the floor, that’s a job for a service center. A broken floor flange needs to come out properly, and getting that wrong creates problems that are much worse than a misaligned toilet.
Should You Replace With Another Thetford or Switch Brands?
Staying with Thetford means the bolt pattern, water inlet position, and rough-in dimensions are likely to match your existing setup. The Aqua-Magic Bravura is the current Thetford upgrade path: single-pedal flush, full-bowl washdown coverage, and a universal floor flange that fits any standard RV flange. It runs $150 to $180 on Amazon. Most owners find it noticeably easier to clean than older Aqua-Magic models.
Switching to a Dometic 310 or 320 is a common upgrade, and it works. Thetford and Dometic mounting flanges are compatible, so the bolt pattern is usually a match. But there are two things to check before you commit:
First, measure the distance from the back wall to the flange center. The Dometic 320 is elongated. In tight RV bathrooms, “it’ll probably fit” has caused more than a few people to have a toilet that blocks a cabinet from opening fully.
Second, the water inlet location is often different. Budget for a flexible supply line if you’re switching brands.
If you’re on the fence about doing a full swap and want to know whether your existing Thetford is worth one more repair first, the Thetford camper toilet parts guide breaks down every model-specific part number, failure symptom, and repair cost. It’s a useful check before you commit to buying a whole new unit.
And if your bathroom situation is more complicated than a straight swap (no permanent mounting point, van build, or shared bathroom space), it’s worth knowing your portable camping potty options as a backup while the permanent toilet situation gets sorted.
How to Avoid Replacing Your New Thetford Too Soon
Winterization is the single biggest killer of Thetford water valves. A teaspoon of water left in the valve will freeze, expand, and crack the housing. The valve looks fine when you put the RV away in October. It leaks from day one in April.
Winterize your RV toilet correctly every single season. Not “mostly.” Not “I turned the pump off, it should be fine.” The water module on newer Aqua-Magic models is a plastic unit that does not survive a hard freeze.
A few other things that shorten toilet life faster than normal use:
- Household cleaners. Bleach and acids in standard toilet bowl cleaners dry out Thetford seals. Thetford’s own documentation says this directly. Use RV-specific cleaners only.
- Leaving the black tank valve open. This dries out the waste ball seal and allows tank gases to track back into the bowl. Never leave it open, even on full hookups.
- Overtightening the floor bolts. The base is plastic. Snug is correct. “Really snug” is one quarter-turn away from a crack.
Thetford recommends replacing the bowl seal every 4 to 6 years depending on use frequency. In hard-water areas, closer to 3 years is more realistic. Doing that one maintenance task on schedule prevents the seal-related failures that tend to cascade into “why is everything leaking at once?” situations.
Check out our RV toilet replacement guides if you’re also looking at other brands or need help deciding on the right model for your specific rig.
Conclusion
The decision to replace instead of repair comes down to one question: is the toilet failing in one place or multiple? One failed part means you repair it. Two or more simultaneous failures, a cracked base, or a part you can’t source means you replace it.
The actual swap is not intimidating. Two bolts, one water line, one vacuum breaker hose, and a new floor seal. Most RVers with basic hand tools get it done in under 30 minutes. This is genuinely one of the more satisfying DIY jobs on an RV because the before and after are so obvious.
Once it’s in, winterize it properly every year and use RV-safe cleaners. That’s the whole maintenance plan. Do those two things and a Thetford toilet will last you a decade of regular use without drama.
Frequently Asked Questions
How long does it take to replace a Thetford RV toilet?
Most RVers complete a same-model swap in 20 to 30 minutes. It’s a two-bolt, one-water-line job. If your new toilet’s water inlet is in a different position, add 15 minutes for supply line work. Cross-brand swaps with misaligned bolt holes can add another 30 minutes, or 10 minutes if you’re using the Thetford Toilet Riser.
Can I replace a Thetford toilet with a Dometic toilet?
Yes. Thetford and Dometic use the same mounting flange standard, so the bolts line up in almost every case. Check two things before you order: the distance from the back wall to the flange center (elongated Dometic models add length), and the water inlet position, which often differs and requires a flexible braided supply line.
Do I need to replace the floor seal when installing a new Thetford toilet?
Yes, always replace the floor seal. It’s the gasket between the toilet base and the flange on top of your black tank. Reusing an old seal causes sewer odors even after a clean install. Most replacement Thetford toilets include one. If yours doesn’t, Thetford part #33239 fits all permanent models and costs about $10.
Why does my new Thetford toilet rock after installation?
Rocking means the floor nuts aren’t tightened evenly, the floor seal is compressing unevenly, or the subfloor has some flex. Retighten the floor nuts evenly, alternating sides, without overtightening. If it still rocks, inspect the flange. A cracked or warped flange won’t hold any toilet stable regardless of how tight the bolts are.
What’s the difference between the Thetford Bravura and the Aqua-Magic when replacing?
The Bravura is Thetford’s current upgrade model. It has a single-pedal flush (half-press adds water, full press opens the valve), full-bowl washdown coverage, and a universal floor flange. The Aqua-Magic series uses a direct-drive or two-pedal system and costs less. Both fit any standard RV rough-in. The Bravura is the better long-term choice; the Aqua-Magic is the budget-friendlier one.